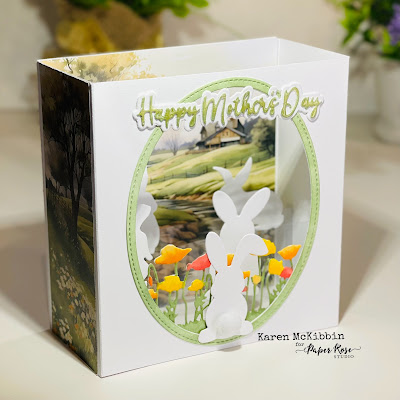
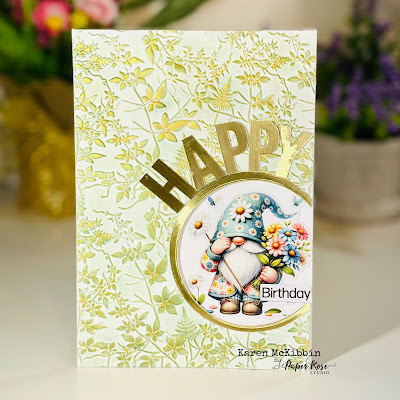
Welcome back and I'm glad you've stopped by. I have two cards to share today, both made from the beautiful Botanical Blooms 6 x 6" patterned paper from Paper Rose Studio. These papers are so beautiful that I really didn't think they needed much more added to them. Here's a look at my cards ...
Paper Rose Studio Supplies Used: Botanical Blooms 6x6 Paper Collection 32052, Happy Birthday A5 10pc Sentiment Sheets 30720 - Foil, Little Foliage 2 Metal Cutting Die 21102, Happy Peek-a-Boo Metal Cutting Die 16832.
For the first card which I'm going to call the blue card, I started by cutting a 5 1/2" x 5 1/2" square of the patterned paper. I used the Peek-A-Boo Happy die to cut out the bottom third or so from the paper. This die leaves the letters attached at the top and bottom, so the patterned paper stayed intact. On another piece of white scrap cardstock, I did a little ink blending with different shades of blue using some Catherine Pooler inks (I'm sorry but I forgot to write down which inks I used). I then die cut the Peek-A-Boo Happy from this now coloured cardstock. I applied some VersaMark ink to the letters and then covered them with Ultra Thick Embossing powder and heat set them. I repeated this two more times until the letters were smooth and glossy. Then I trimmed the top and bottom off the letters so that they were now individual letters. I glued the botanical paper down to a 5 1/2" square card base, and then glued the embossed letters on top of the botanical paper layer. I used some blueish ink again on some scrap cardstock and then die cut the Little Foliage 2 leaves out and tucked them in beside the Happy part of the sentiment. I had a little butterfly that was from the Rainbow Butterflies and Insects cut aparts that I glued to one of the leaves. And finally, I cut the birthday from one of the silver foiled sentiment strips, mounted it onto double sided foam tape and adhered it below the Happy sentiment.
For the second card, I started with an A2 card base that is side folding. I trimmed a piece of the botanical paper to cover the front and glued it in place. Then I positioned the Peek-A-Boo Happy die at the top of my card and die cut out the letters from both the front and back of the card base. There was a very thin strip of card left at the top of the letters, and I trimmed that off with my paper trimmer. On a separate piece of scrap white cardstock, I did some ink blending to get a mix of pinks and peachy tones. I die cut the Peek-A-Boo Happy die from this also, and again, used my VersaMark ink and Ultra Thick Embossing powder to get a thick, glossy effect. I then trimmed the top and bottom off this to just get the letters separately. I glued the letters onto the front of the card and added the gold foiled birthday sentiment just below. Since the letters were die cut out of both the front and back of the card, when you open the card, there is a separate happy at the top of the inside of the card which is quite fun.
Thank you for stopping by and I hope I've given you a little inspiration today!


