Showing posts with label Happy Bee-Day. Show all posts

Wednesday, 4 May 2022

Garden Critters Thank You Card

Hello and welcome back.  I’ve got a thank you card to share today that combines the Garden Critters and Happy Bee-day stamp sets from Gerda Steiner Designs.


I used Copic markers to colour in all the poppies and the caterpillar, and then fussy cut them out.  The extra leaves are from the HoneyBee Stamps "Lovely Layers Coneflower" die set and I cut them from green cardstock and added some Distress Oxide Rustic Wilderness and Mowed Lawn to them.  The white circular die is from PinkFresh Studio and is the "Stitched Scallop Circle" die set, and I chose to use both the inside and outside die cuts.  I stacked about four of these die cuts together to create some dimension. The sentiment is from the Garden Critters stamp set and I heat embossed it with clear embossing powder (please try not to notice that I didn't cut it quite straight! It drives me crazy 😬).

For the background, I used some Cosmic Shimmer Colour Cloud ink in Lemon Meringue, Baked Peach and Lush Pink and just ink blended them over the card front. Then I sprinkled on some Pixie Sparkles in Pumpkin Patch and misted with water.  There's a lot of sparkle in real life from these, but it doesn't show up in the picture. 

Finally, to put it all together, I glued down the leaves where I wanted them to go, but left the upper edges free to be curled up slightly.  Then I glued the white circle die cuts down in place, before adding in the poppies.  I mounted the caterpillar on foam tape and positioned him at the bottom of the circle.  I also mounted the sentiment on foam tape and adhered it below the image.

Thank you for stopping by, and I do hope you're having a happy, creative day!

Wednesday, 11 August 2021

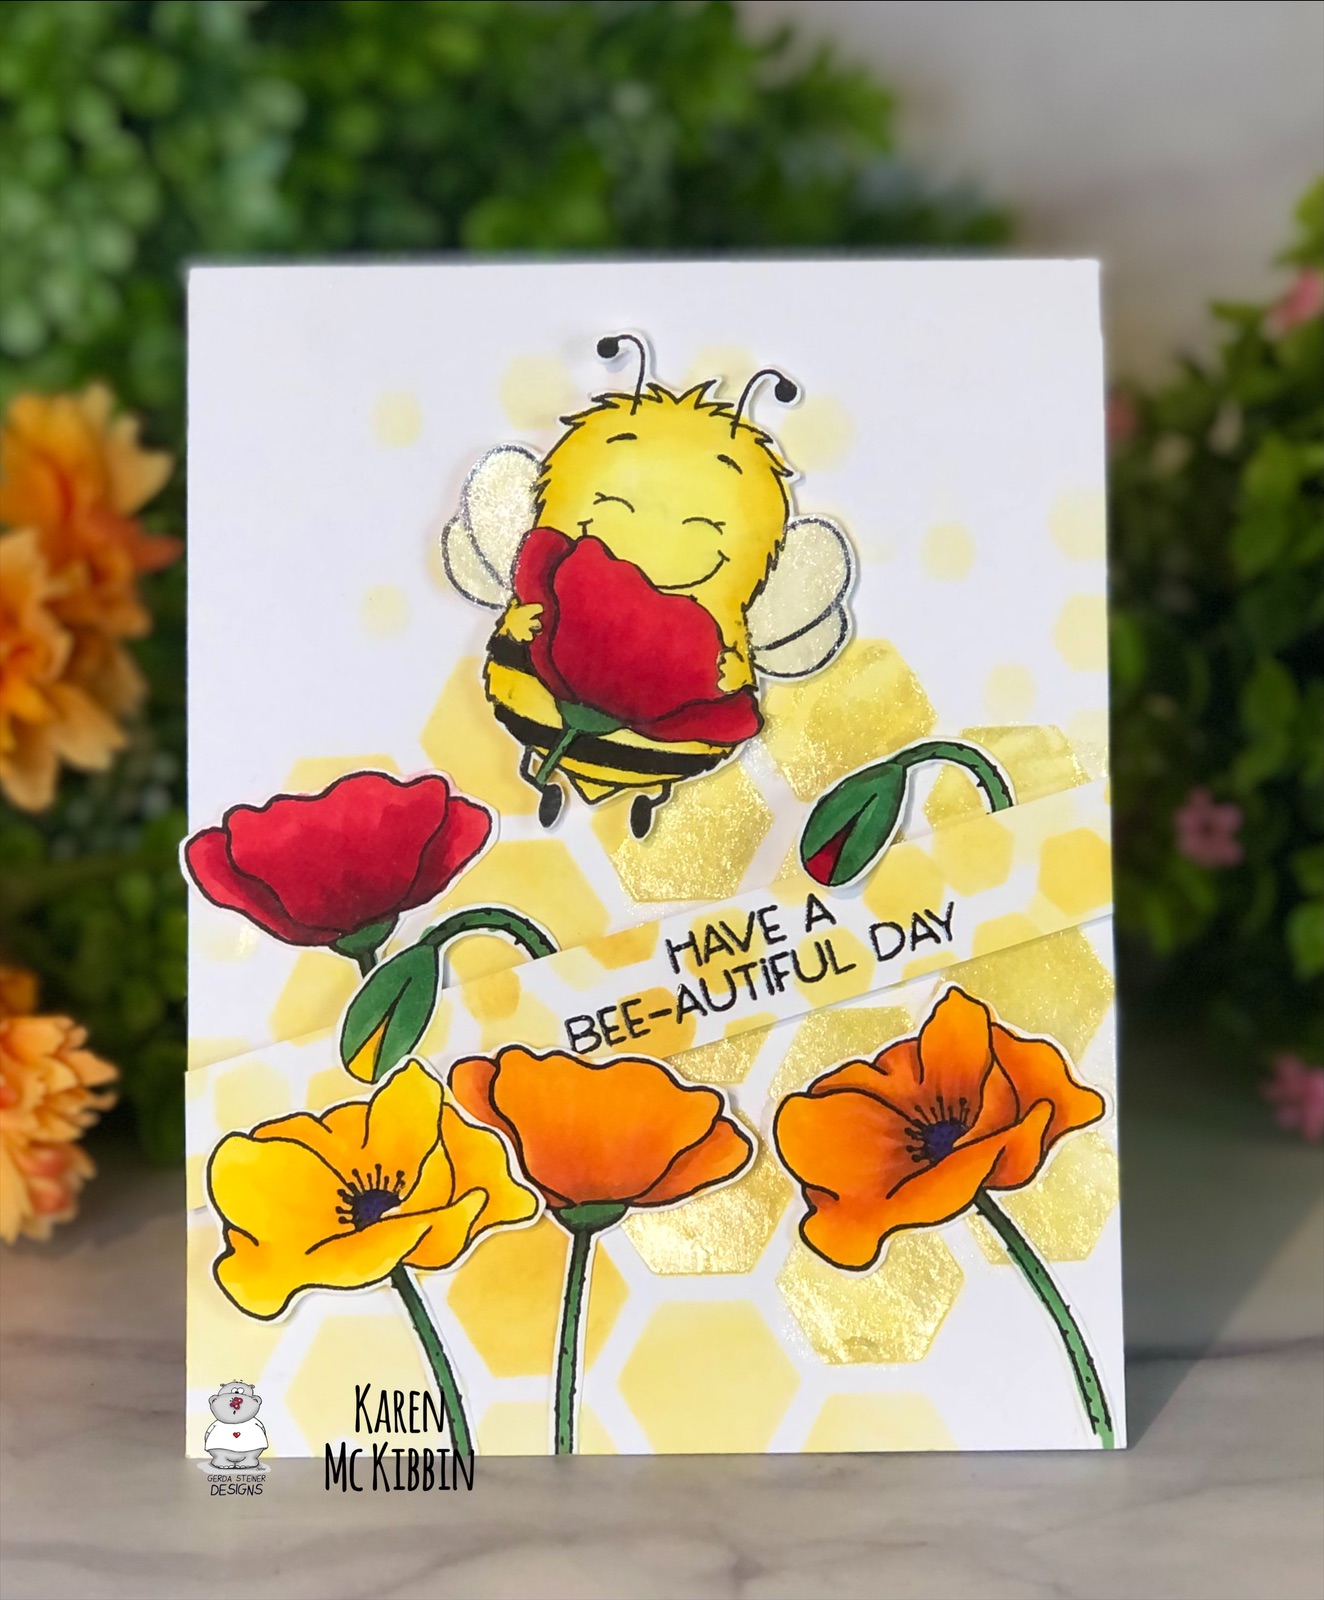
Have a Bee-autiful Day

Hello again, and welcome. I’ve got a card today that’s fun for summer. I’ve used the “Happy Bee-Day” stamp set from Gerda Steiner Designs for this one and kept it quite simple. 


I stamped the images with copic friendly ink onto some Neenah Solar Crest cardstock and then coloured them in with copic markers. I wanted the bee to hold the poppy, so I used a baby wipe to carefully remove the ink from the sign he was holding, before stamping the image. After colouring, I fussy cut the images out and also cut the lower part of the bees’ hand so he could hold the poppy  

Next, I used a honeycomb stencil and some Distress Oxide ink in Wild Honey to create the background as well as the sentiment strip.  My stencil is an older one, I think from Faber Castell, and had two sizes of honeycomb.  I went over some of the stencilling with Moda Scrap gelly paste, as well as over the bees’ wings. This just added some shine to the card, but any clear paste would likely work. The sentiment is from the same stamp set and I just stamped and clear embossed it onto the strip I had created. 

To assemble the card, I mounted the sentiment and bee on foam tape. I also put foam tape behind some of the flowers to add dimension. I glued the poppy onto the bee and then arranged everything onto the card front. So it really was a quick and simple card, but I do love how happy that bee is!  

Thank you for stopping by and I hope you’re having a great day!