Hello everyone, I've got 3 fun fold cards to share today, and all of them are made with the Wedding Blooms collection from Paper Rose Studio. I didn't have time to create a video for you, so I will do my best to walk you through each card.


For all 3 cards today, I used the Wedding Blooms Cut Aparts images which I fussy cut out. I also added a little gold foil to all of them. I used a tacky-when-dry style of glue such as Tombow Mono or Scrapbook.com glue. I applied small amounts of glue to the areas of the image I wanted to highlight and then set them aside to dry. When the glue is dry, it will turn translucent and will be tacky. I added some Cosmic Shimmer Golden Jewels Gilding Flakes to the tacky areas, and then brushed the excess off. I love the extra shine the foil brings to the images!
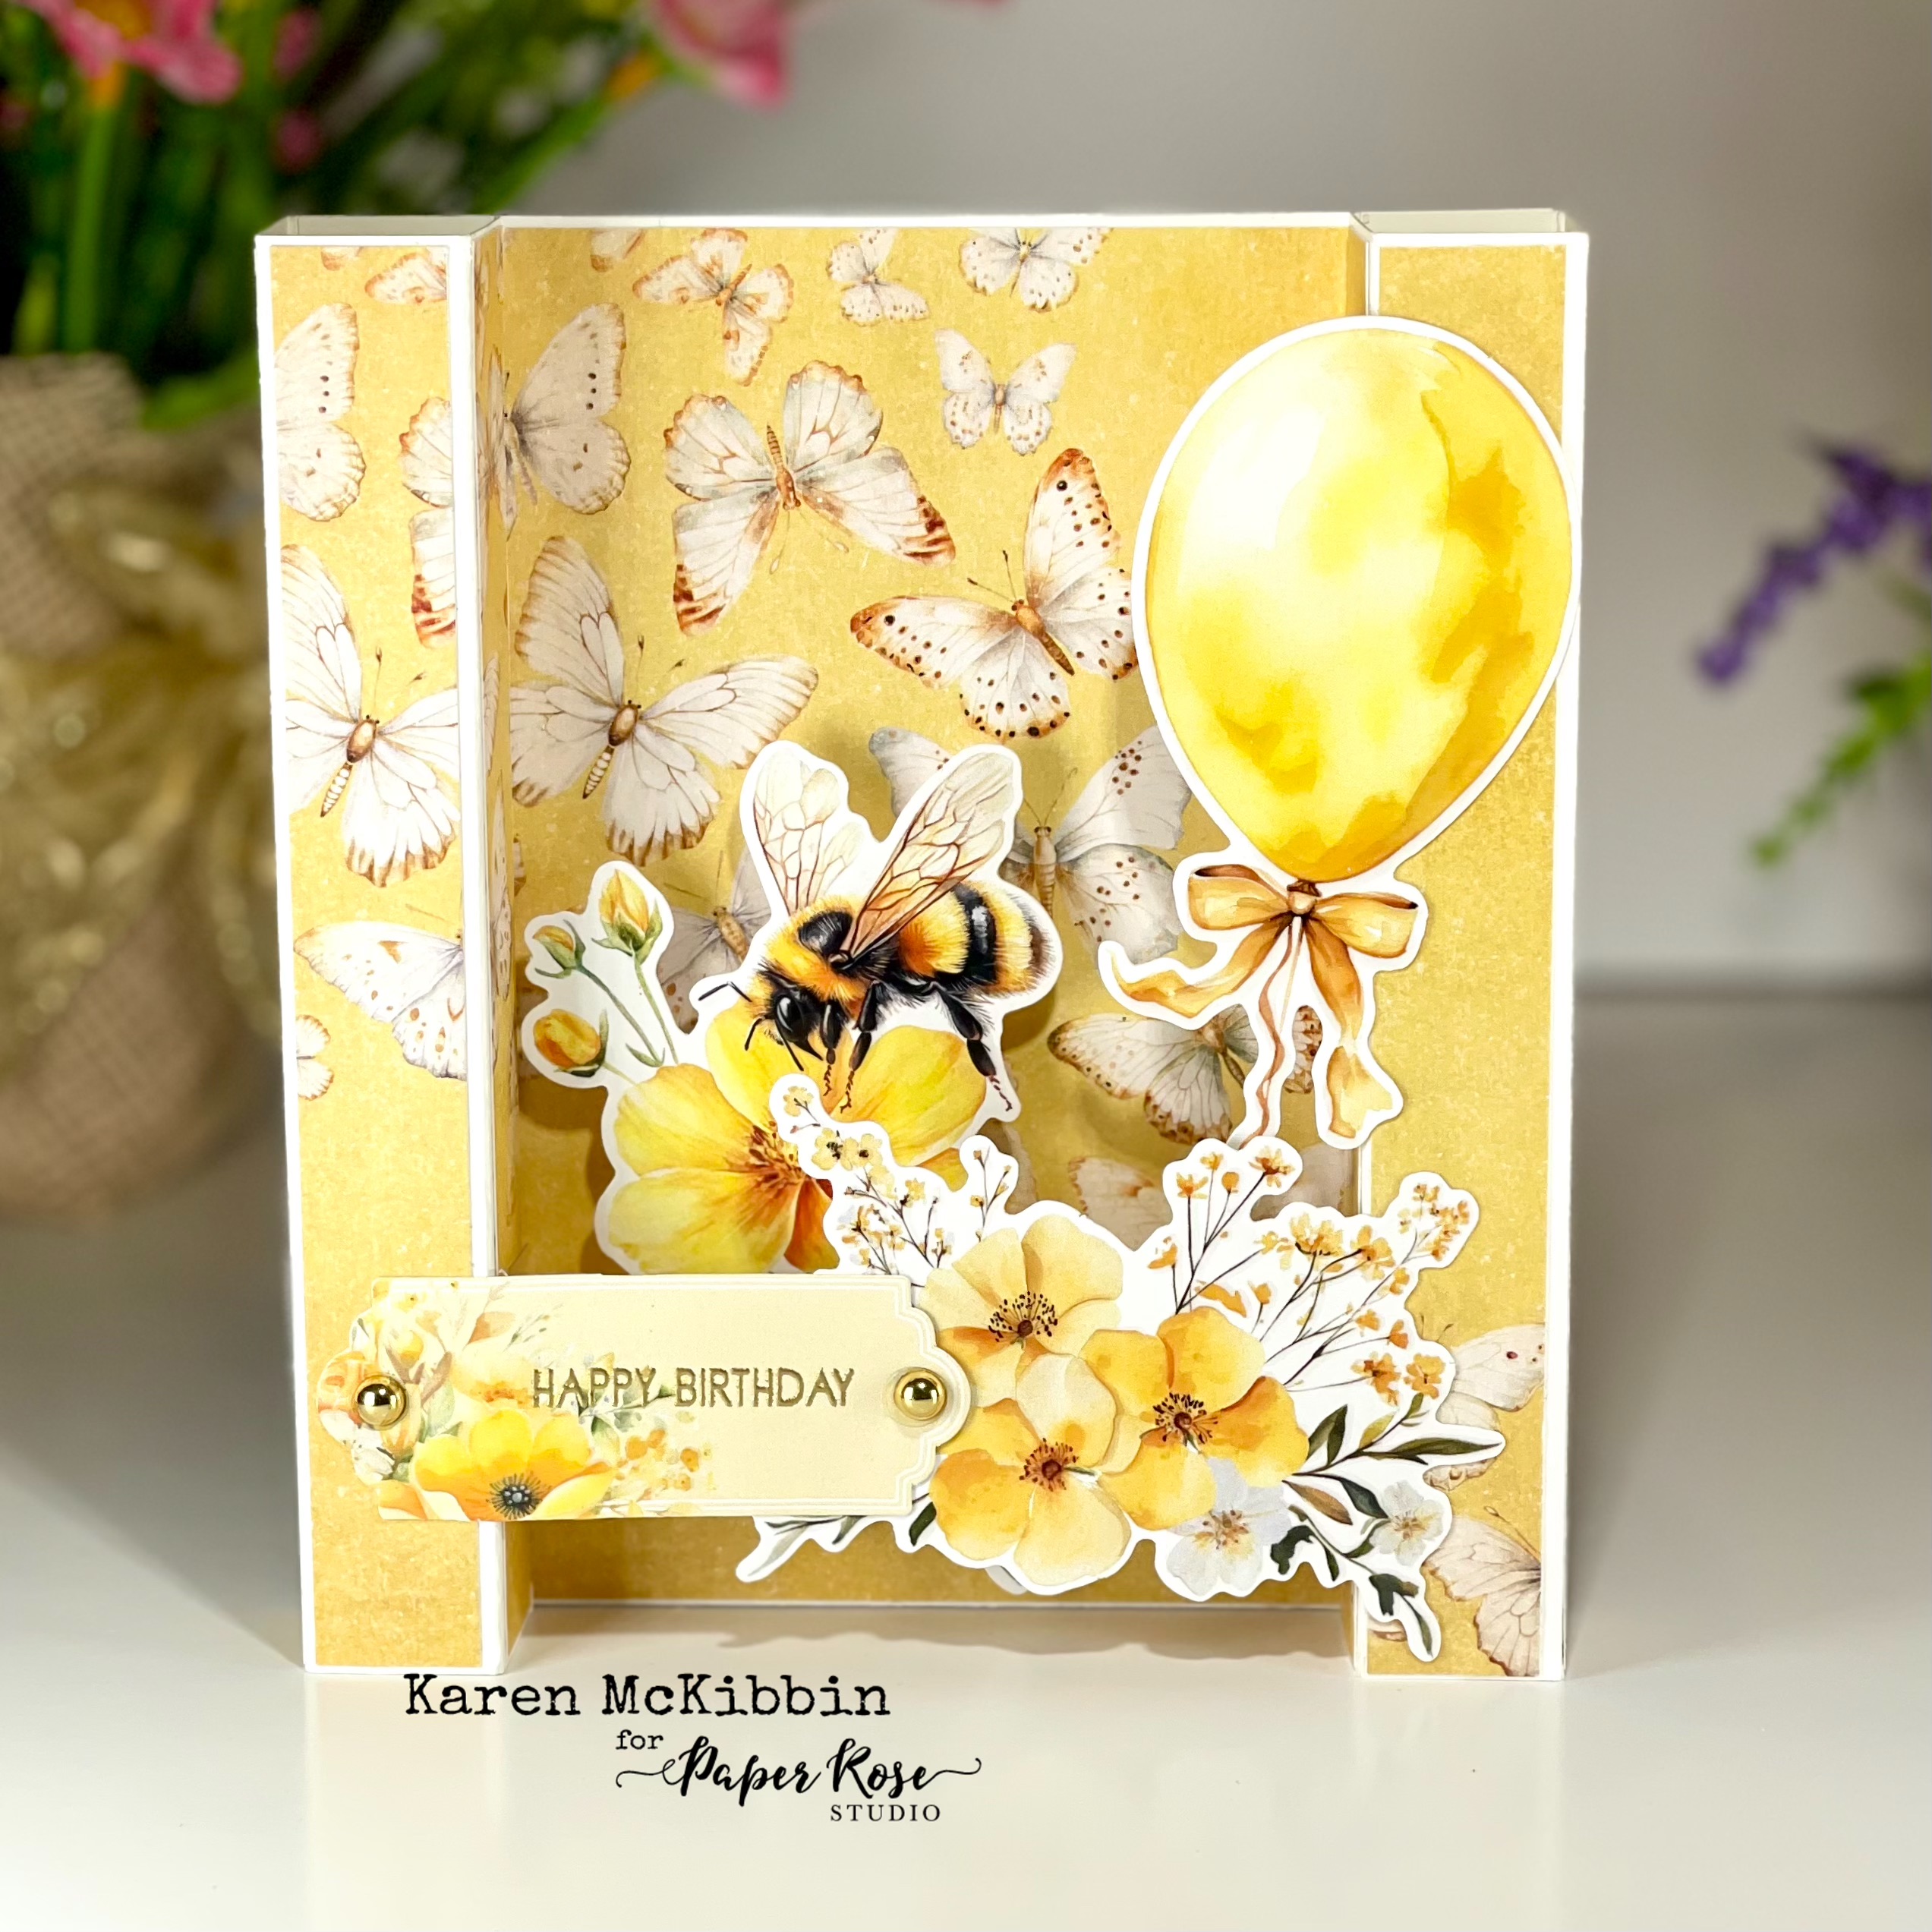
This first card is a bridge style card and is easy to make. I started with an 8" wide by 6" tall piece of 110# cardstock. I scored it along the 8" wide edge at 1", 2', 6" and 7". Then I folded and scored this to make a mountain, valley, valley, mountain fold as you can see in the picture. I cut panels to fit the front, and for the large center piece, I embossed it with the Tufted Elegance embossing folder. After these were glued in place, I die cut 2 panels of the Wedding Blooms Border from white, 6" wide cardstock and glued them together. I added this across the front of the card, lining up the edges. Finally, I added the images and sentiment. You could also decorate the back with more images.


This is a split fold style of card and is easier than it may look. I have a template for all the scoring and cutting here if you're interested - CLICK HERE
After scoring and cutting as explained in the template, I added panels of the Wedding Blooms Texture paper to the front. I die cut the Love die twice from white cardstock, and once from gold foil cardstock and glued them together. I glued the images to the center front and side panels, and then glued just the bottom of the Love word to the bottom of the front section.


This card is a Stadium Wave style of card. I've created these before, and I just keep extras of the acetate wave mechanism on hand for future use. Here's a link to a video I've made if you're interested in making this style of card - CLICK HERE.
This card measures 6" wide by 5" tall. I created the front by die cutting a heart out of one of the Wedding Blooms Textures papers that I had trimmed down to be 6" x 5". I flipped the heart over to use the back side to now fill the heart opening. I used a small circle die to cut the image from the Wedding Bloom Cut Aparts cardstock, and then mounted this on some foam and adhered it to the center of the heart. I die cut the Love sentiment from white cardstock twice and glued them together. I had to trim the flower and leaves off the bottom of the sentiment to make it fit on my card.
For the inside of the card, I attached the Wave mechanism on the left side of my card. I prefer this side as its easier to write on the remaining card if you're right handed. But if you're left handed, you may prefer to have you're mechanism oriented to fit on the right side of the card. I believe that's all explained in the video. Once the mechanism was in place, I added my images with either glue or double sided tape to the acetate strips. Finally, I die cut the Congratulations sentiment from gold foil cardstock and adhered it the inside.
I hope that's given you some inspiration on how to use this collection - it's a beautiful wedding collection!