Wednesday 18 November 2020

Stepped Up Snow Angels

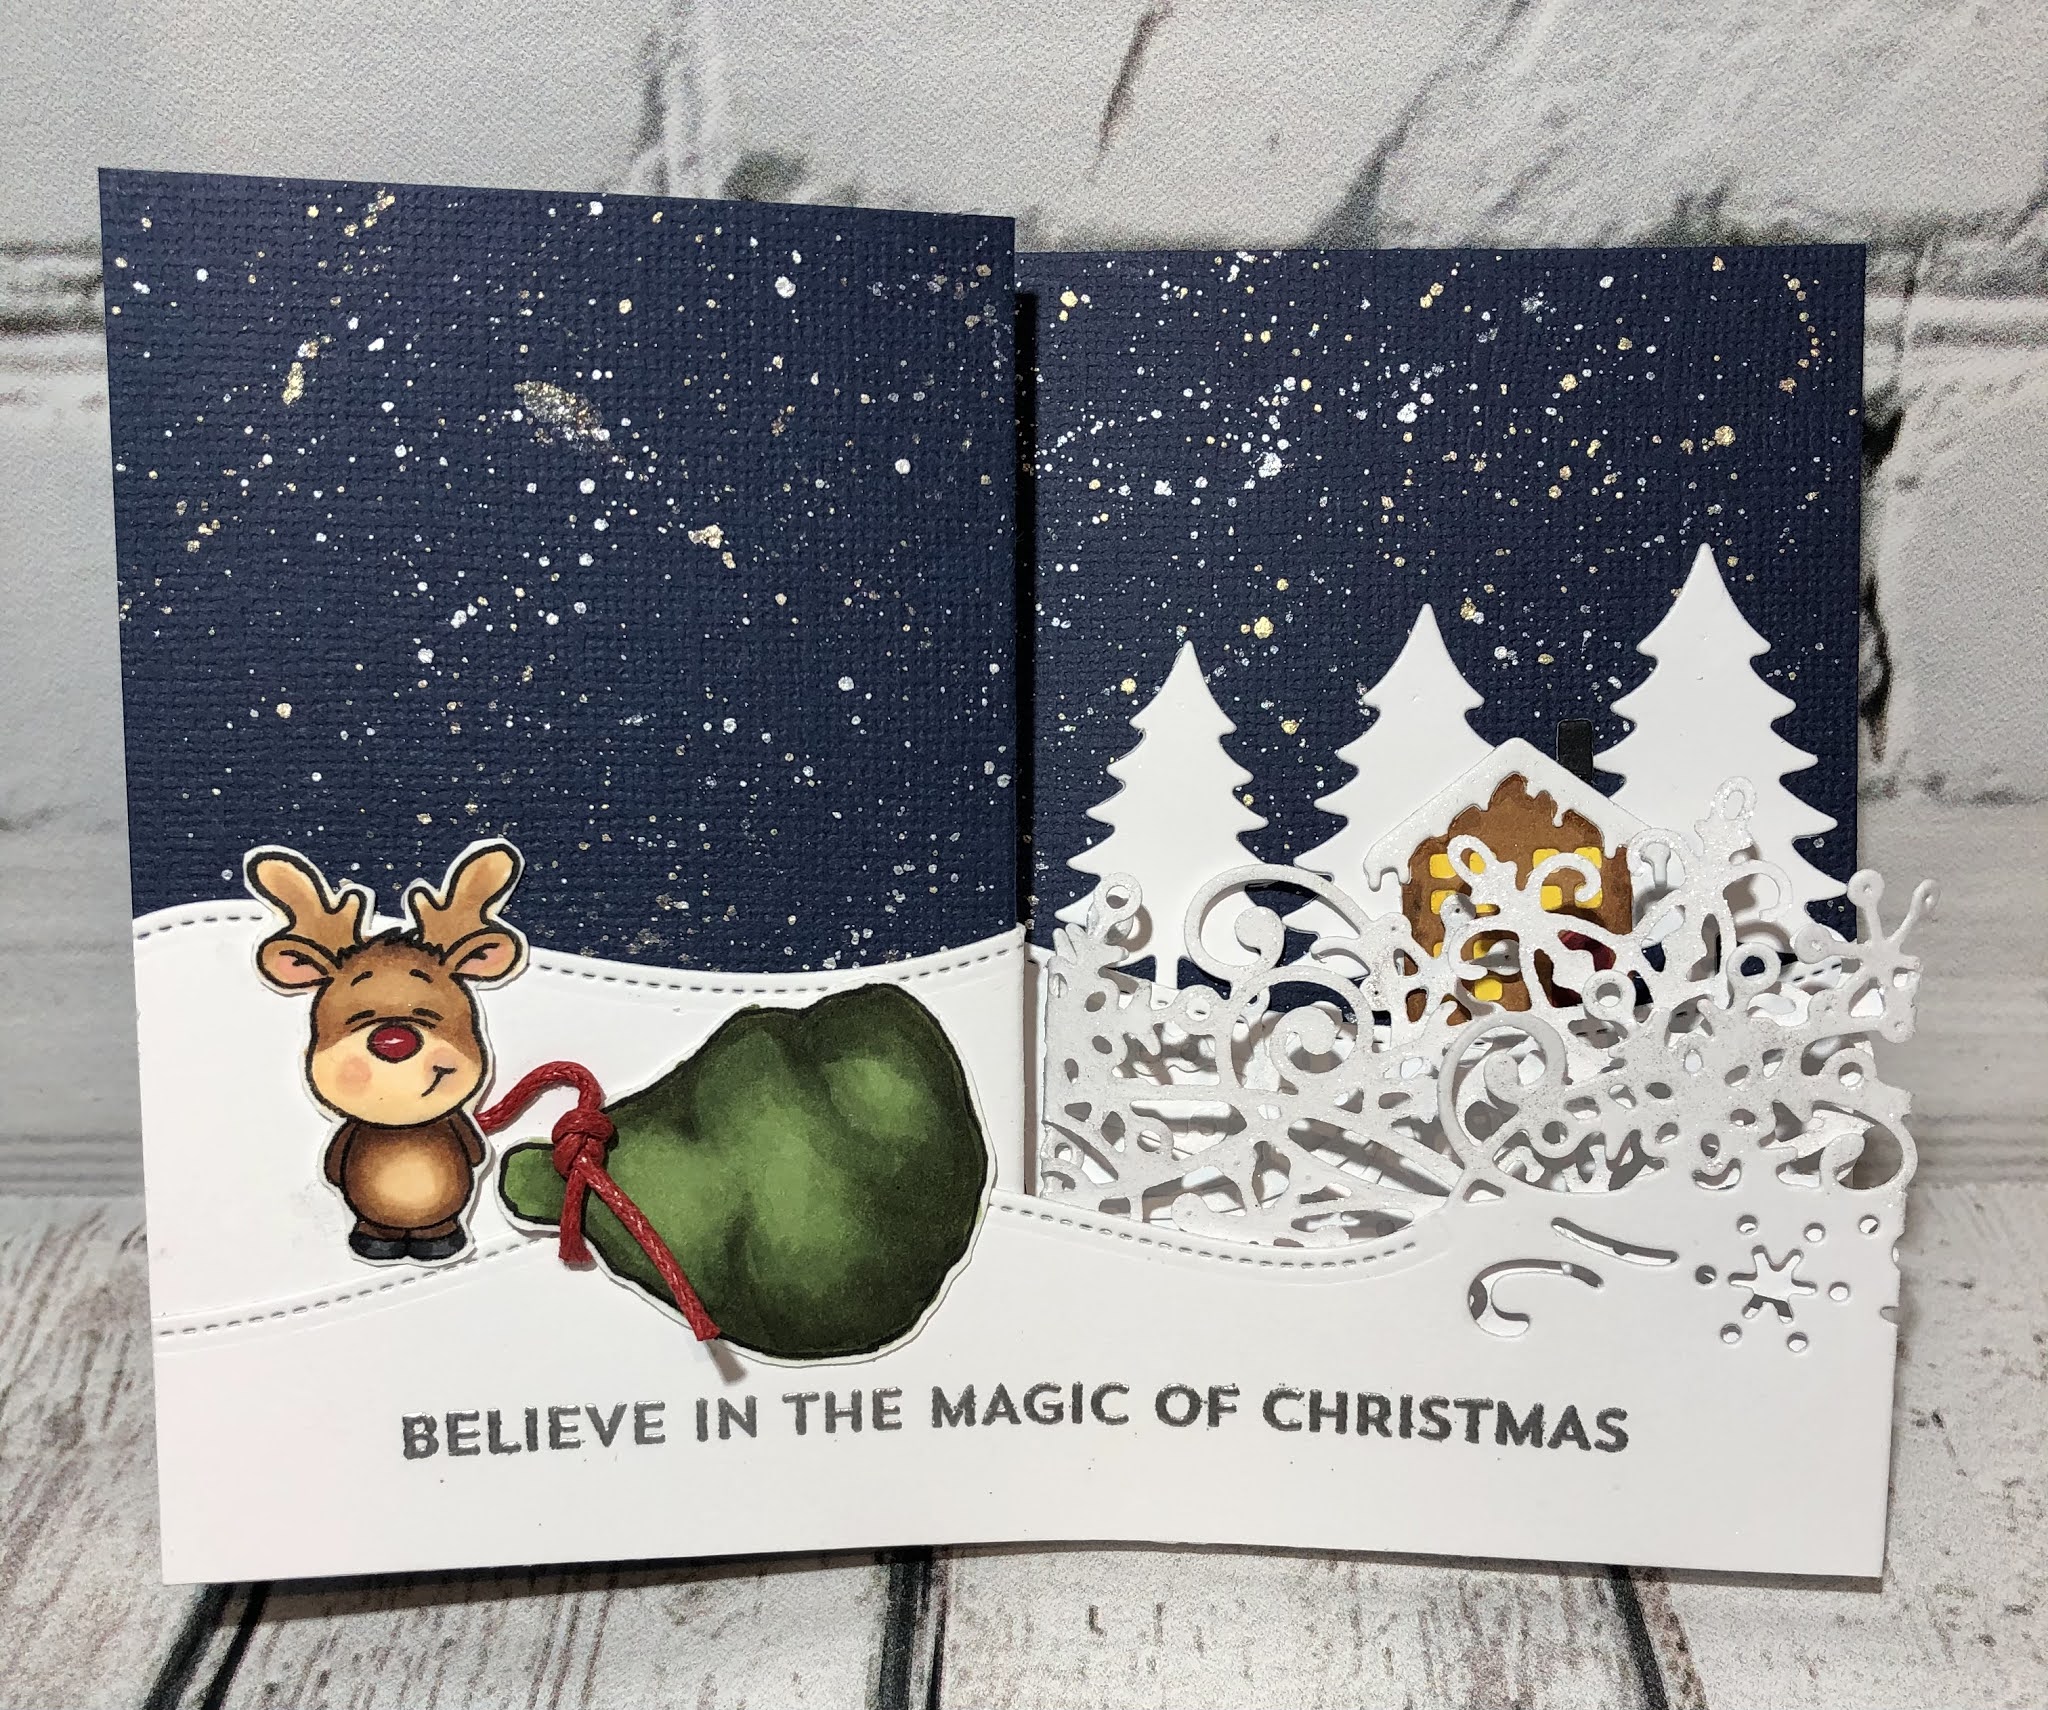
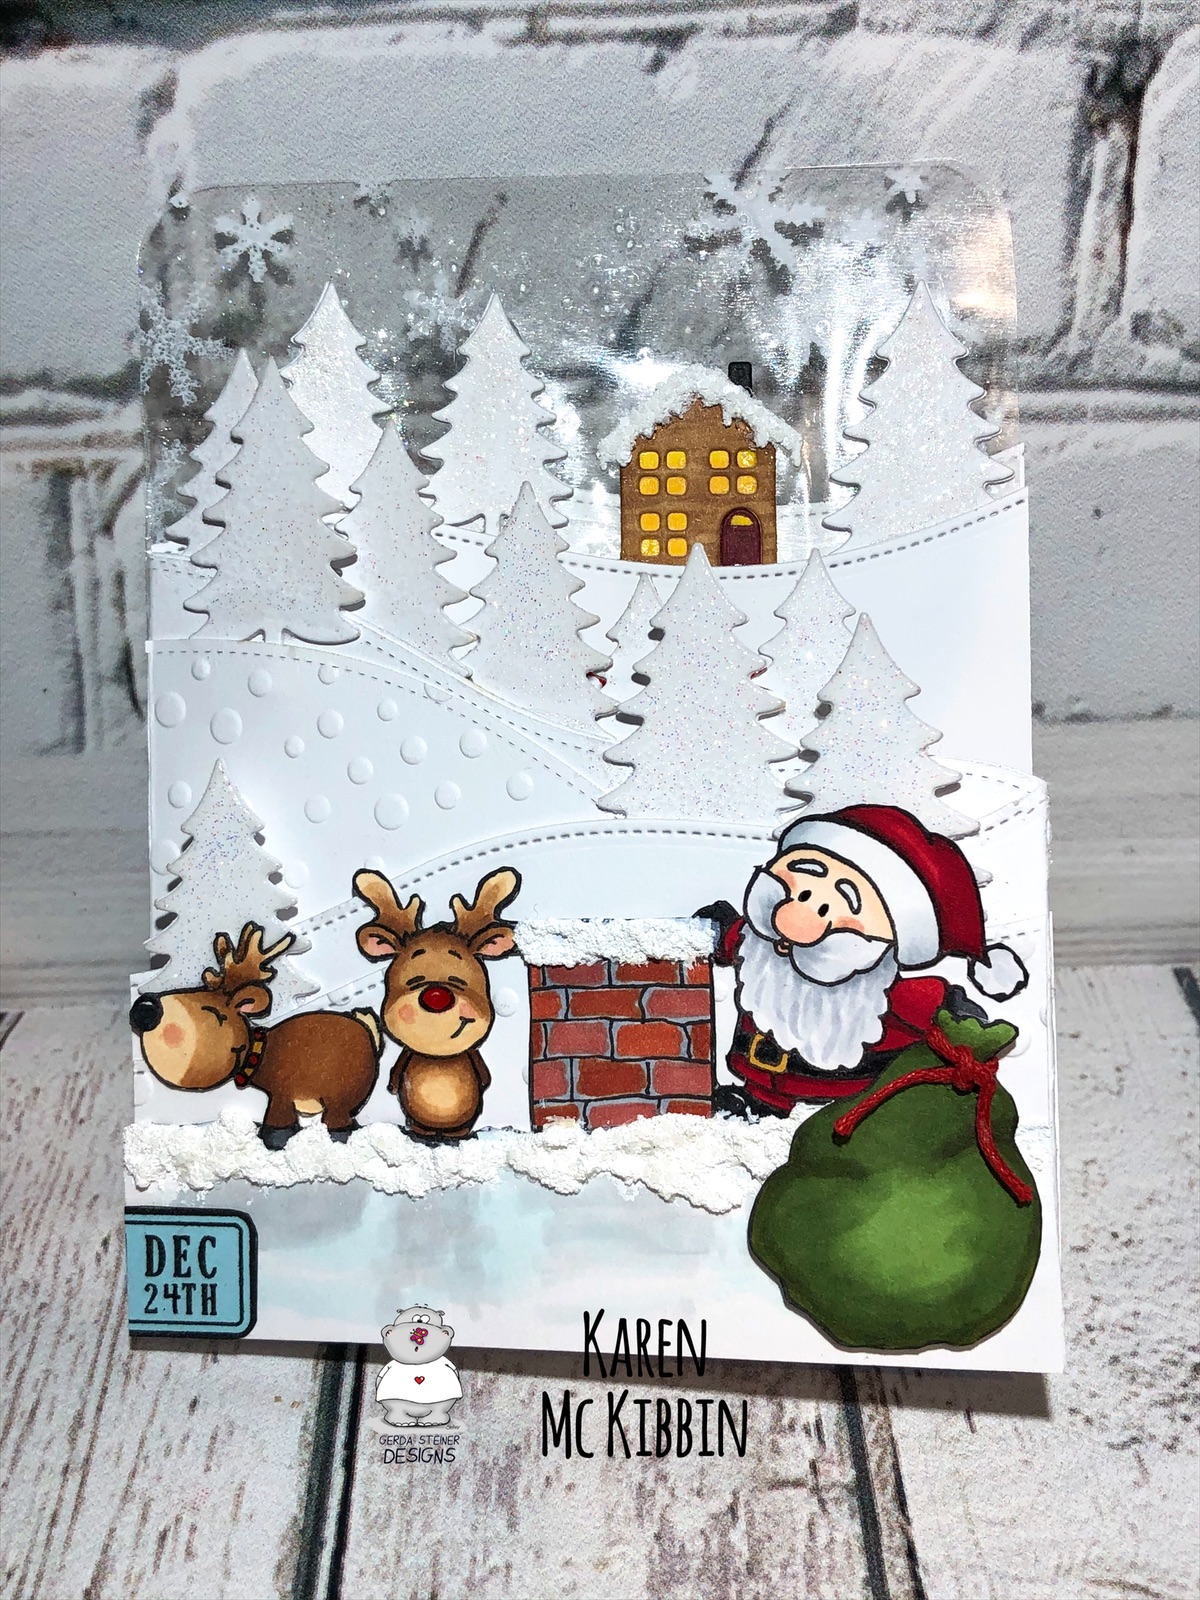
Happy Wednesday everyone! I’ve got a step card to share with you that features the Snow Angel stamp set from Gerda Steiner Designs.  How much fun is it that these guys are making snow angels! 


I wanted my card to look like the characters were out on some snowy hillsides on a frosty day, so I chose to make a step card.  If you’ve never made one before, they are very easy to do and I’ve got a video made for you to see how I did it.  To watch the video, PLEASE CLICK HERE.


I embossed my snowbanks with an embossing folder from Kaisercraft called Circles.  The background sky was made with a stencil from a company called A Colorful Life and is called Cloud Edger, and I used Distress Oxide ink in Speckled Egg, Tattered Rose and Spun Sugar.  I used the Woodland Borders die set from Sunny Studios to create my snowbanks and for the trees.  I added some Nuvo glimmer paste in Moonshine to the trees, and some glitter accents in Fresh Snowfall around the characters arms and legs.  I mounted Santa, Rudolph and the snowman on action wobblers so they can get busy making their snow angels! 

Since this card tends to flop open, I decided to add a belly band around it with a sentiment on it.  


I hope this card has given you a little inspiration.  Have a great day and thanks for stopping by! 

Monday 16 November 2020

Double Z Fold Cards with *Video*

Hello, and welcome!  I’ve got a couple of fun Double Z fold cards to share with you today.  If you’re a fan of slimline cards, you may really enjoy these.  Like the hillside trifold cards, they give you a lot of space to add images and there is a hidden area on them to add a surprise. However, they fold down to the same dimensions as a typical A2 card and fit in the same size envelope.

My first card features the super fun and versatile Reindeer and a Tree stamp set from Gerda Steiner Designs.  I absolutely love this set and I don’t think I’ve run out of ideas for how to use it yet. On this card, there’s trouble on the rooftop for Santa, and Rudolph, who looks so innocent, is keeping Santa’s sack away from all that mayhem! 

The card looks like this on the front when closed ...


The inside of the card looks like this ... 


My second card features the sweet Holiday Penguin set from MFT Stamps.  It’s got a fun, laminated sky in it which is very shiny but it’s hard to see that in the pictures.  


On the inside the rest of the penguins are busy decorating.  

If you would like to see how I made these cards, I have a video up on my YouTube channel for you.  To see it, PLEASE CLICK HERE.  There is also a list of the supplies I used listed below the video in the description.  

Thanks so much for stopping by and I hope you’re having a great day! 


Tuesday 10 November 2020

Another Paper Roses Poinsettia card

 Hello again and thanks for stopping by!  I have really been trying to use my supplies repeatedly lately, so I have another card today featuring Paper Rose Studio’s Poinsettia Flower  die set. If you haven’t seen this die set yet, you should check it out - it’s beautiful! 


I die cut from gold cardstock, two of the outline flowers.  The red flower was cut from red cardstock and I used some copic markers to add some shading (R39 and R29).  I glued some gold seed beads to the center of the red flower.

The bottom border is from a Paper Rose Studio stencil called Holly.  I applied some Heidi Swapp clear texture paste to green cardstock.  When it was dry, I ran it through my laminator with some champagne foil.  I used my R39 copic marker on the berries and then added glossy accents on top. I cut a border from the gold foil cardstock using a MFT Ric Rac die.  

The top, see-through part of the card is made with a laminating pouch that I sprinkled some embossing powder in as well as some silver stars, before running it through my laminator.  Jennifer McGuire has a video on how to do this and here is the link if you want to check it out.  It’s a fantastic idea!  I scored and folded this see-through panel, and then sandwiched it between pieces of white cardstock on the front and back of my card.  Finally, I cut my sentiment from red foil cardstock and glued it to the inside of my card. 

Thanks so much for joining me today and I hope you’re having a great day! 


Wednesday 4 November 2020

Reindeer Holiday

Hello, I’m back with another Christmas card featuring these adorable  “Reindeer and a Tree” stamps from Gerda Steiner Designs.  I couldn’t resist making just one more card with them and I had so much fun with my last Hillside trifold card, I made this one into one too. 


So, in my mind, this card tells the story of  Christmas Eve on the front of the card with the reindeer and Santa hard at work as shown here.  I stamped and added the date as if it was a page on the calendar and drew the chimney and rooftop as well as the sack.  I used the Woodland Border die set from Sunny Studios to create the hills and trees, and an embossing folder from Taylored Expressions called Snowfall. The little house is from a Memory Box die set called Cabin Snowglobe. 

What I really love about these trifold cards is that you can have another hidden story on the inside pages.  So for mine, the inside is Christmas Day when Santa and the reindeer are able to have a holiday, or in this case, a snowball fight! 


Now, I’m fairly sure these reindeer weren’t meant to be throwing snowballs, but my imagination just kind of got away from me.  The snowballs are made from Snow-Tex and I just cut rough circles for the fort walls, and used a paper punch for the snowballs once it was dry.  That see-through sky idea is from the amazing Jennifer McGuire who used laminating folders and stamping to create see-through elements.  Here is a link to her video:  https://youtu.be/xpneNLweV9w.  I love that these cards feel extra sturdy due to the layers of embossed hills and they stand upright very easily.


I made a video that I posted on my YouTube channel last week showing how I made this style of card.  There are actually two cards on that video so if you want to jump ahead to the second card that features this same stamp set, it starts around the 9:00 minute mark. Here’s the LINK TO MY VIDEO if you missed it.  And here’s what the card on the video looks like if you missed it.


I hope that these cards may have inspired you to give this card style a try.  Thanks for stopping by and I hope you are having a great day! 


Monday 2 November 2020

Paper Roses Poinsettia Flowers

 Hello, I’ve got three cards today made with this beautiful Poinsettia Flowers die set from Paper Roses and one of them isn’t even a Christmas card! Shocking, right?!  Honestly, the last one started off in my mind as a Christmas card, but I wanted to make them pink poinsettias.  However, once I coloured them up, they didn’t look too Christmassy so they’re a thank you card now.  Just the way things go ...

Anyway, here’s the first card and it is a Christmas card. 


This is the front of the card but it’s a trifold card, so when you open up the card the poinsettias are actually on the middle layer and look like this ...


The sentiment on the front of the card is from Poppy Stamps and is called Christmas Quotes. The holly on the inside is also from Poppy Stamps and is from their Mistletoe and Holly die set. I die cut the poinsettias from white cardstock and then copic coloured them with R39, R29 and R35. 

Here is my second card ...


This one is a shaker card and has a lot of shiny stuff on it! It was very hard to photograph as a result.  The background is a Gina K foiled toner card and the “peace” sentiment is from Crafter’s Companion.  It’s meant to be cut out of an opening so I did some partial die cutting to get the arched circle and then die cut the “peace” again from foiled cardstock to place over top.  I used a “Mini Poinsettia” embossing folder from Couture Creations on the front.  I copic coloured these poinsettias in the same way as the first card.

And for the third card ...


I die cut the flowers from Bristol cardstock and coloured them with Zig Clean Color watercolour brushes, which I’m really not as comfortable using.  They were just so bright and pink when I was done that I just didn’t see them as Christmas flowers at all. The background is made from a Paper Roses stencil called Flowy Leaves and I used some Decofoil Metallix gel in Champagne. The sentiment is from MFT’s More Essential Sentiments set. 

Thank you so much for joining me today and I hope I’ve given you a little inspiration!  Have a great day!