Showing posts with label Reindeer and a tree. Show all posts

Monday, 16 November 2020

Double Z Fold Cards with *Video*

Hello, and welcome!  I’ve got a couple of fun Double Z fold cards to share with you today.  If you’re a fan of slimline cards, you may really enjoy these.  Like the hillside trifold cards, they give you a lot of space to add images and there is a hidden area on them to add a surprise. However, they fold down to the same dimensions as a typical A2 card and fit in the same size envelope.

My first card features the super fun and versatile Reindeer and a Tree stamp set from Gerda Steiner Designs.  I absolutely love this set and I don’t think I’ve run out of ideas for how to use it yet. On this card, there’s trouble on the rooftop for Santa, and Rudolph, who looks so innocent, is keeping Santa’s sack away from all that mayhem! 

The card looks like this on the front when closed ...
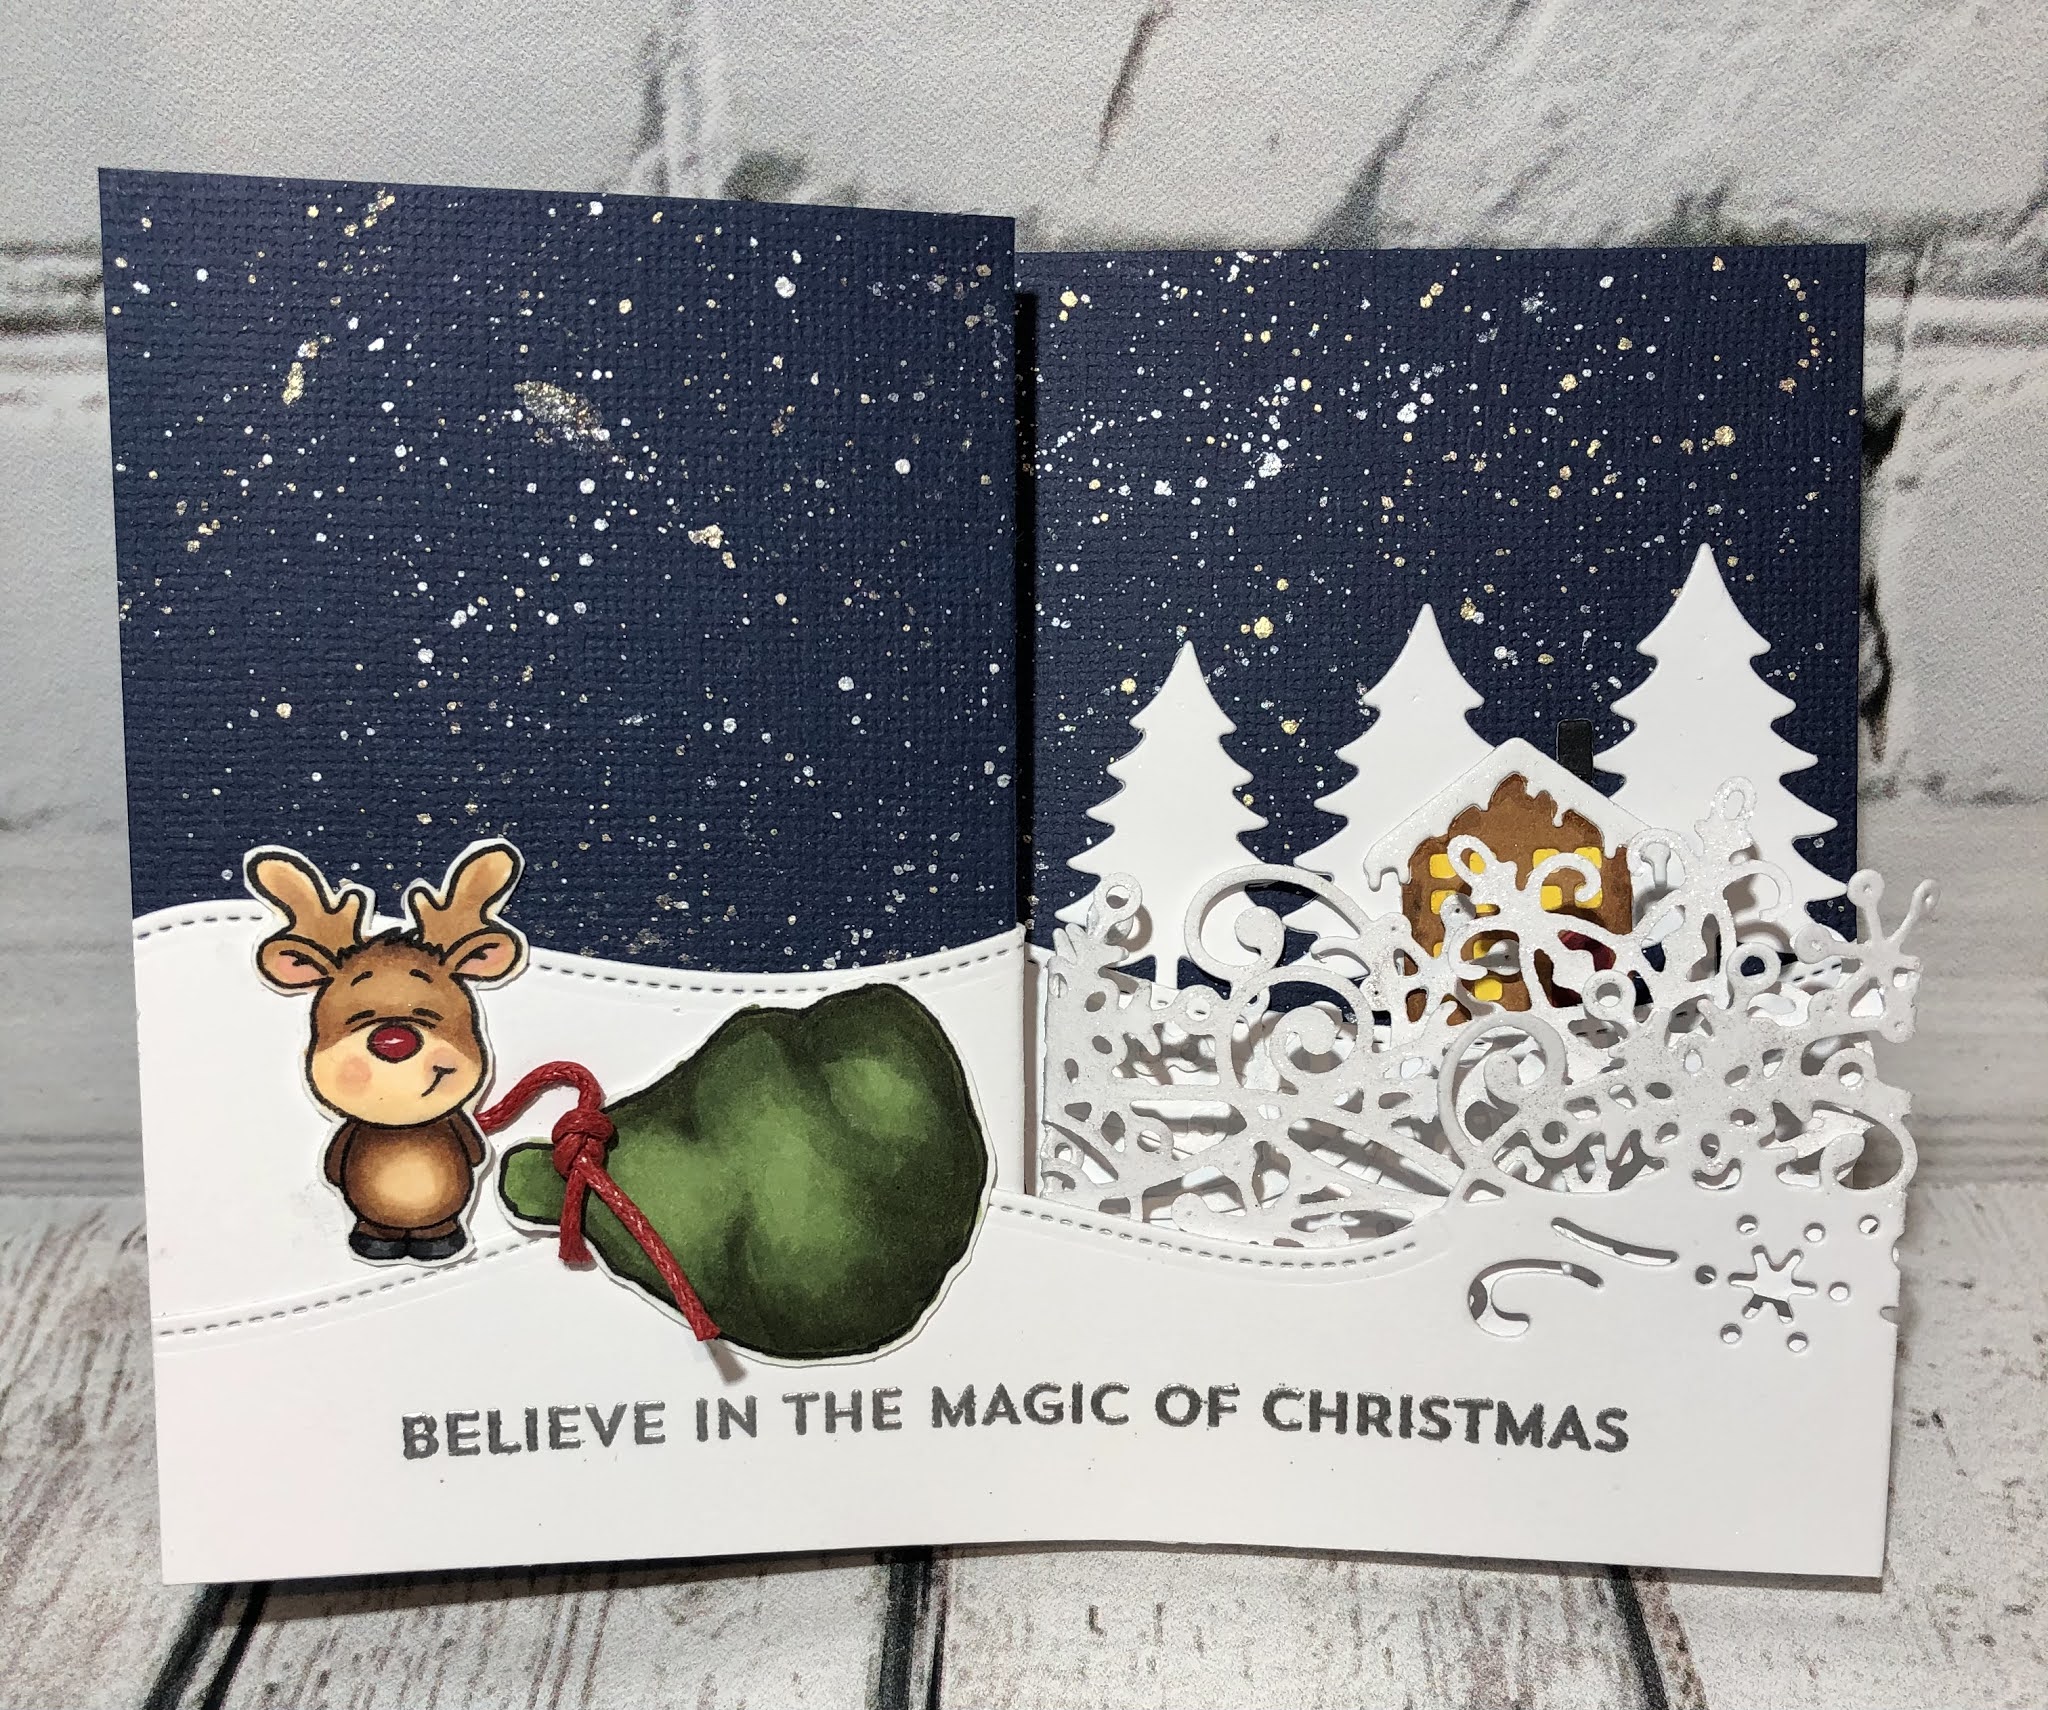


The inside of the card looks like this ... 


My second card features the sweet Holiday Penguin set from MFT Stamps.  It’s got a fun, laminated sky in it which is very shiny but it’s hard to see that in the pictures.  


On the inside the rest of the penguins are busy decorating.  

If you would like to see how I made these cards, I have a video up on my YouTube channel for you.  To see it, PLEASE CLICK HERE.  There is also a list of the supplies I used listed below the video in the description.  

Thanks so much for stopping by and I hope you’re having a great day! 


Wednesday, 4 November 2020

Reindeer Holiday

Hello, I’m back with another Christmas card featuring these adorable  “Reindeer and a Tree” stamps from Gerda Steiner Designs.  I couldn’t resist making just one more card with them and I had so much fun with my last Hillside trifold card, I made this one into one too. 


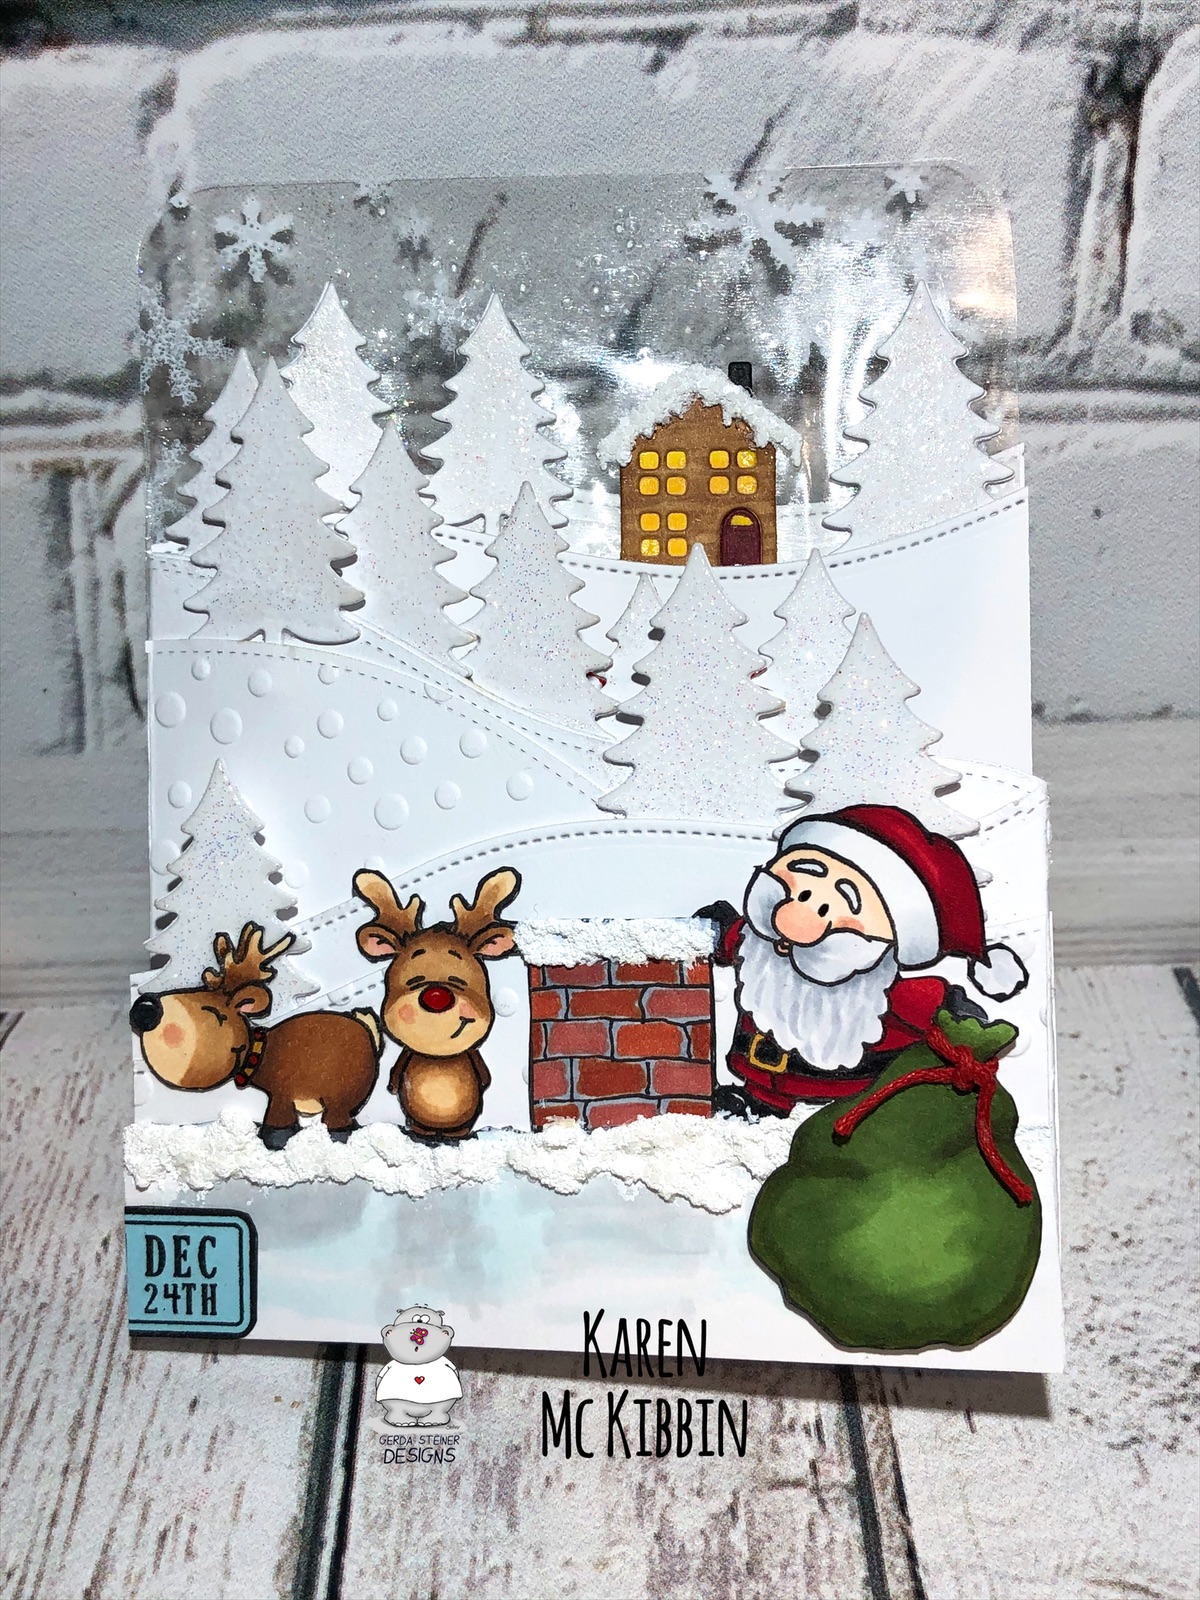
So, in my mind, this card tells the story of  Christmas Eve on the front of the card with the reindeer and Santa hard at work as shown here.  I stamped and added the date as if it was a page on the calendar and drew the chimney and rooftop as well as the sack.  I used the Woodland Border die set from Sunny Studios to create the hills and trees, and an embossing folder from Taylored Expressions called Snowfall. The little house is from a Memory Box die set called Cabin Snowglobe. 

What I really love about these trifold cards is that you can have another hidden story on the inside pages.  So for mine, the inside is Christmas Day when Santa and the reindeer are able to have a holiday, or in this case, a snowball fight! 


Now, I’m fairly sure these reindeer weren’t meant to be throwing snowballs, but my imagination just kind of got away from me.  The snowballs are made from Snow-Tex and I just cut rough circles for the fort walls, and used a paper punch for the snowballs once it was dry.  That see-through sky idea is from the amazing Jennifer McGuire who used laminating folders and stamping to create see-through elements.  Here is a link to her video:  https://youtu.be/xpneNLweV9w.  I love that these cards feel extra sturdy due to the layers of embossed hills and they stand upright very easily.


I made a video that I posted on my YouTube channel last week showing how I made this style of card.  There are actually two cards on that video so if you want to jump ahead to the second card that features this same stamp set, it starts around the 9:00 minute mark. Here’s the LINK TO MY VIDEO if you missed it.  And here’s what the card on the video looks like if you missed it.


I hope that these cards may have inspired you to give this card style a try.  Thanks for stopping by and I hope you are having a great day! 


Wednesday, 21 October 2020

Who Let the Reindeer Out?!

Hello, and welcome!  I’ve got two Christmas cards to share with you today featuring the Reindeer and a Tree stamp set from Gerda Steiner Designs.  We’ve had our Thanksgiving here in Canada, and Halloween is almost over, so I’ve been on a roll making Christmas cards lately - I hope that’s not too early for you!  I’m trying very hard to use my stamps and dies more frequently but in different ways, so since I had two cards made with this set, I thought I’d share both of them with you. 


I stamped all the adorable reindeer and the Santa images and copic coloured them in (copic markers used are listed below), and then cut out my images.  I used a snow marker (Marvy Embellishing Snow Marker) on Santa’s hat trim and pompom to give them some dimension. I also added some Glossy Accents to Rudolph’s nose and the collars.


For my background, I cut from white cardstock, 3 layers of the Simply Diamonds die from PinkFresh Studios and saved one layer of the inner die cut pieces.  I ink blended these smaller, inset pieces with a mix of Distress Oxide inks in Festive Berries, Barn Door, Candied Apple, Lucky Clover, Mowed Lawn and Crushed Olive. After gluing together the die cut panels, I adhered them to my card base and then inset the ink blended pieces.  

Then I adhered the reindeer and Santa with foam tape inside the diamonds on the panel.  The sentiment is from Picket Fence Studios Santa’s Sleigh Ride and I just thought it went well with all these somewhat mischievous looking reindeer. Finally, I added some Studio Katia Icy Sparkle crystals. 

And for the second card ...


For this card, I copic coloured the images which are all from the same stamp set.  I added the ornaments, lights, and candy cane from the set because I wanted to make it look like the reindeer were having a little too much fun with the decorating.  I added some black cord around the reindeer with the lights, and glued it behind his back. Then I glued the lights around and under the cord.

I made the strip of patterned paper from various papers I had in my stash.  I cut them into strips and then used a tape gun to adhere them to a piece of cardstock on the diagonal. I embossed a piece of white cardstock for the bottom half.  The sentiment is from the same stamp set too - bonus! - and I just embossed it with gold embossing powder. I added a little ink blending behind the patterned strip with Distress Ink Festive Berries, and popped the reindeer up on foam tape. 

Thanks for stopping by, and I hope you’re having a great day!
Copic markers used:

Reindeer - E51, E53, E25, E33, N6, N4, R20, R00, YR23 and R29
Santa - R39, R29, R35, N6, N4, YR23, C0, C1, C2, E000, R20, R00