Showing posts with label 3D Christmas card. Show all posts

Wednesday, 16 December 2020

Fun with Penguins!

Hello and thanks for stopping by! I’ve been having a little too much fun with a new stamp set from Gerda Steiner Designs called Happy Holiday Penguin.  I’ve made three cards with it, and because we’re so close to Christmas, I’ve decided to share them all with you today.  So I hope you have your coffee at hand, as this is a rather long post!
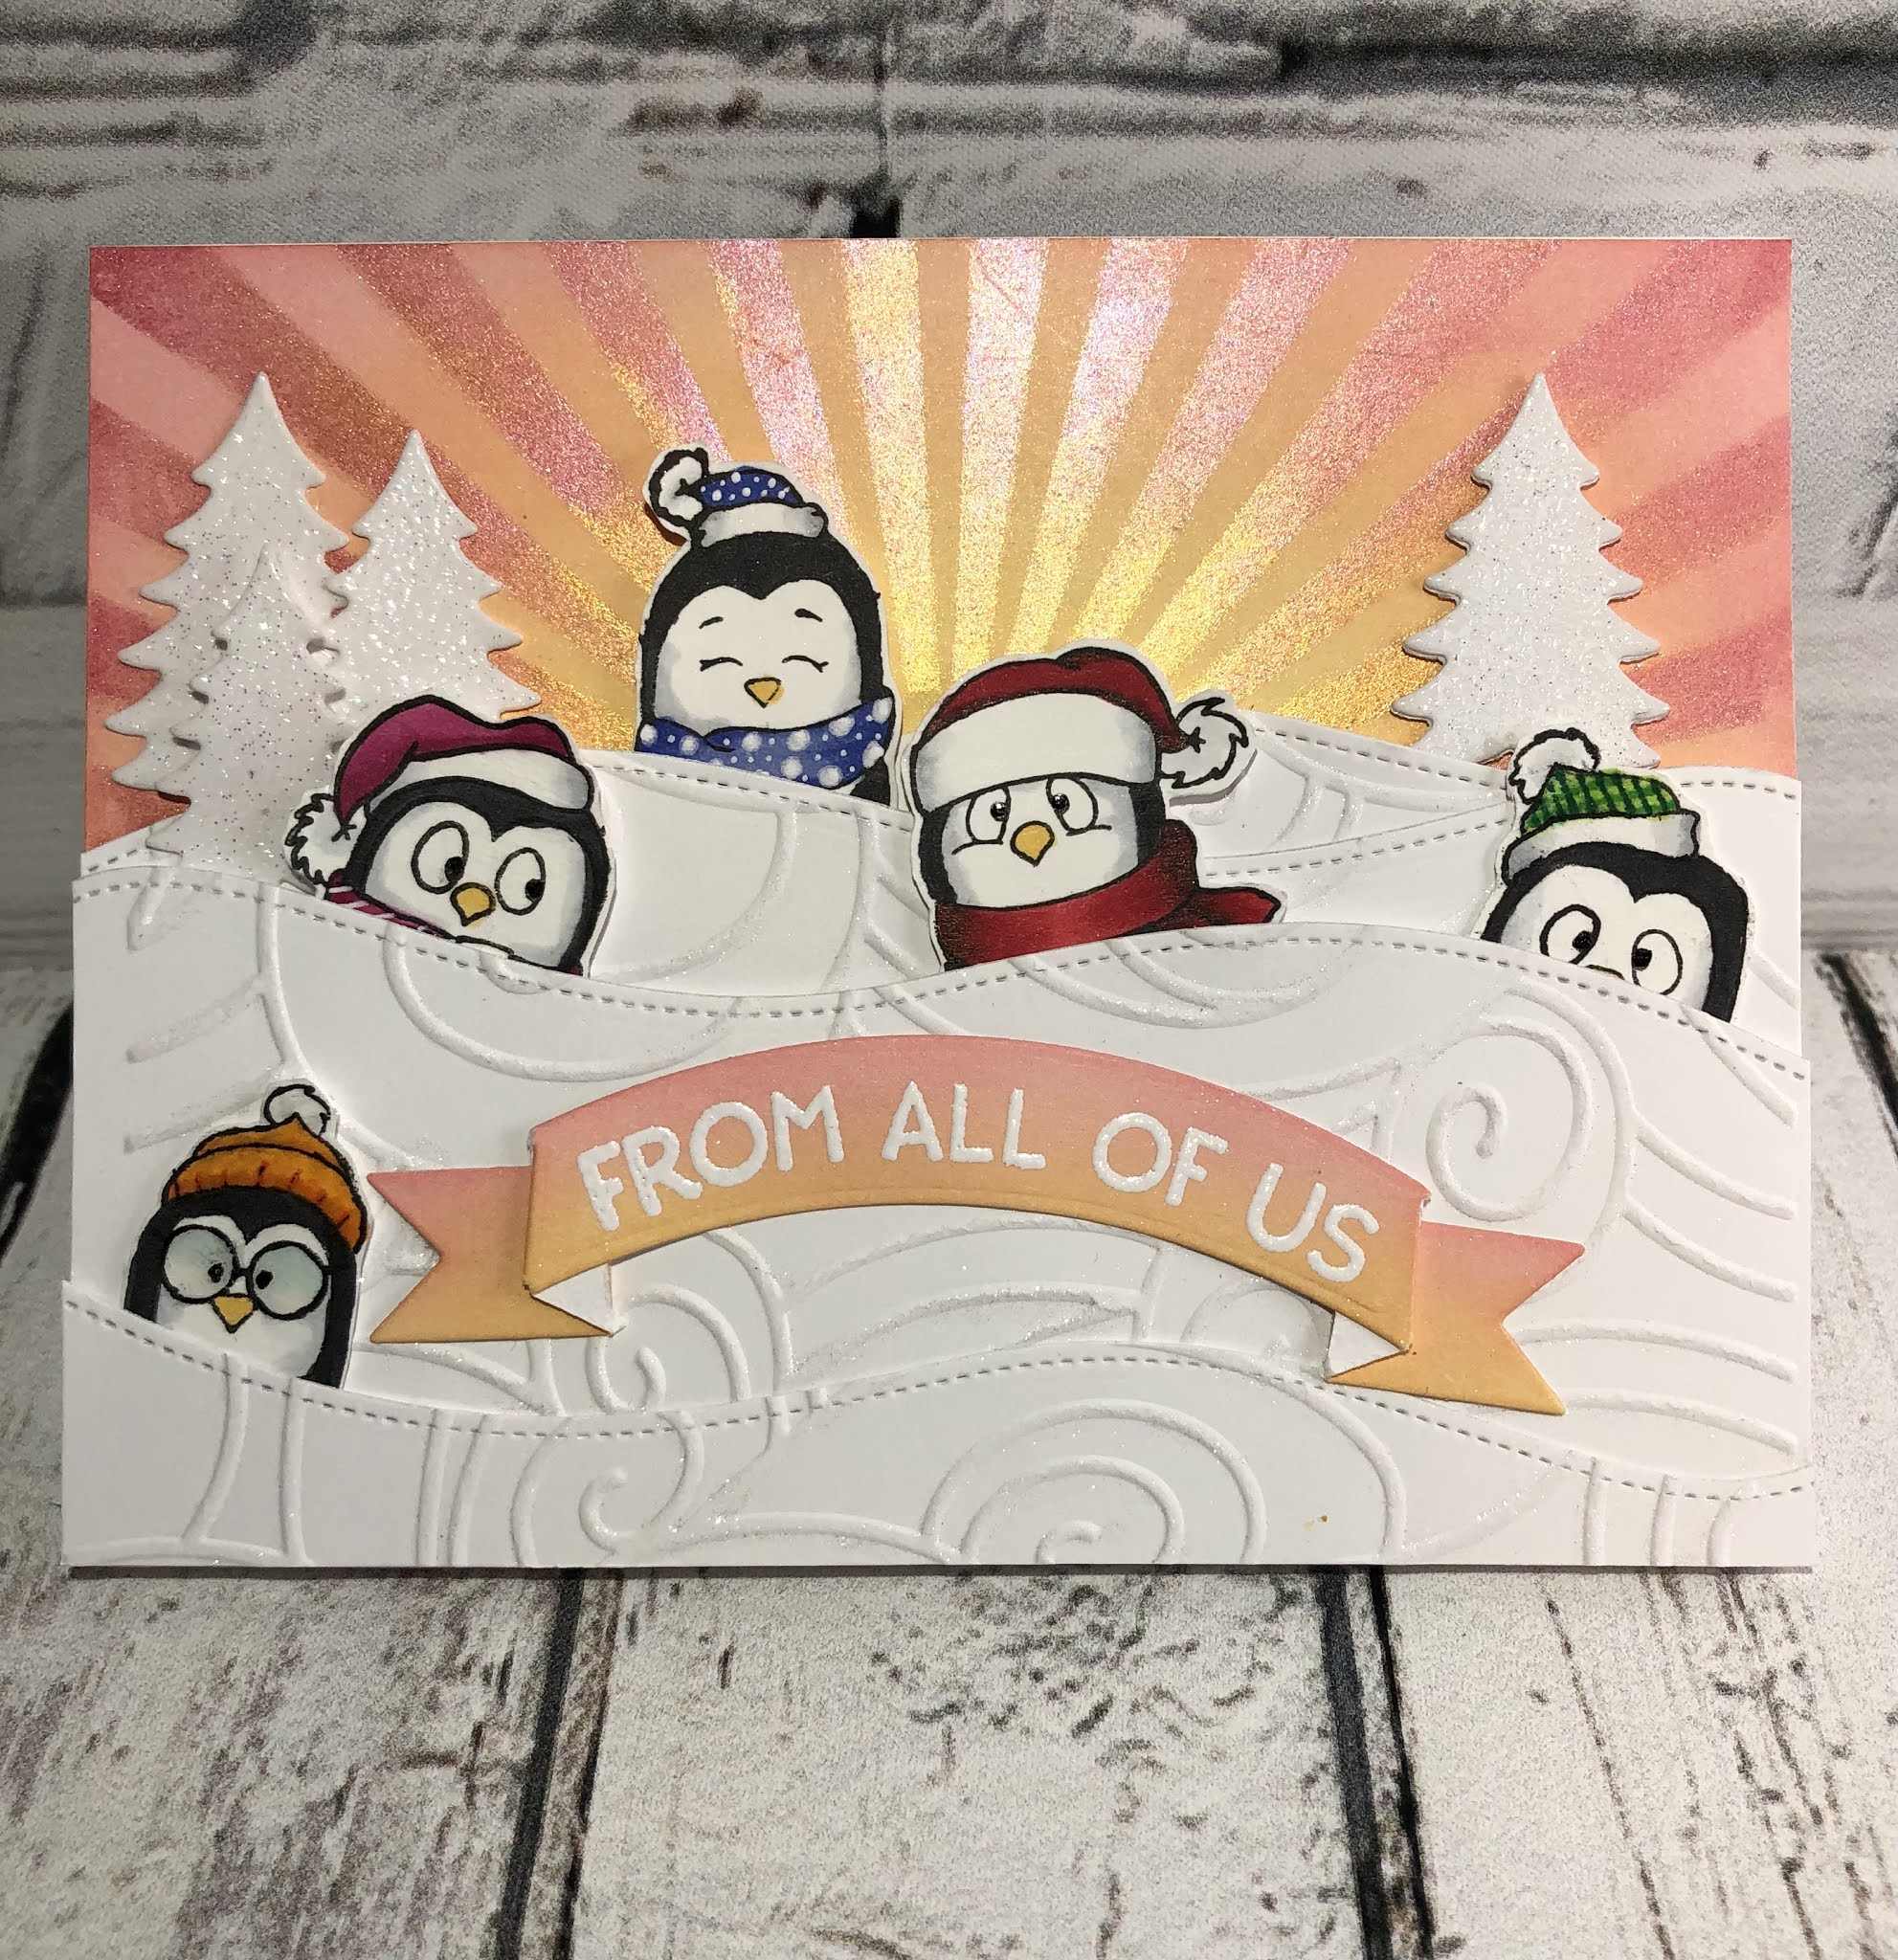


I created the front of this card by ink blending in Distress Oxide ink in Squeezed Lemonade, Dried Marigold, and Worn Lipstick.  I placed a sunray stencil over top (mine was MFT Stamps Radiating Rays), dabbed on some Versamark ink and then brushed on some PearlEx powder which gave it a lot of shine and more colour.  Next, I die cut some snowbanks and dry embossed them (my folder was from Lifestyle Crafts but had no name on it).  I used a Nuvo shimmer pen over the raised edges of the embossing.  To get the individual penguin images, I masked off alternating penguins and filled in with a copic multiliner pen as needed. I only coloured in the top of the images as they would be hidden behind the snow. For the banner, I ink blended a scrap of cardstock in Dried Marigold and Worn Lipstick before white heat embossing the sentiment which is from the stamp set.  I added a few trees from Sunny Studios Woodland Borders die set that I had heat embossed with some Hero Arts Sparkle embossing powder.  On the inside, I stamped the “birthday” sentiment from the “Meerkats on the Lookout “ set from GSD Stamps before gluing my image above it.  I coloured in the “happy” with a gold DecoFoil pen so it has a lot of shine to it.  This card would be so easy to adapt to whatever holiday was being celebrated by just changing the inside sentiment.


In my second card, I’ve also got the adorable little Tangled Penguin with the other penguins.  I somehow had the idea that these penguins were floating by each other on icebergs, wishing each other a merry Christmas.  Weird, I know!

This is a Double Z fold card so the inside image is hidden from the front of the card when it’s closed.  I’ve made a video previously on how to make this style of card, so if you want more detailed instructions, here is the link to the video.

I ink blended the background sky using the Cloud Edger stencil from A Colorful Life Designs, using Distress Oxide inks in Warm Honey, Worn Lipstick, Shaded Lilac, and Stormy Sky. I die cut a wave border from some blue cardstock I had in my stash and glued that to my card base.  I made the second wave border out of some Brusho crystals and Nuvo shimmer powders and then die cut another wave border.  I needed help with drawing the icebergs, so I pulled out my “Make a Splash” stamp set from Craft Consortium and copied the one there. After copic colouring all my images, I glued them to my card base, being careful to keep the inside iceberg and penguins hidden inside.  The sentiment on the front of the card is from MFT Stamps Bitty Holiday Wishes and I stamped it in Stormy Sky Distress Oxide ink.  Finally, I added some sparkle pen to the icebergs and glossy accents to the Christmas lights.


My final card is an 8 x 4” slimline pullout card and again has the Tangled Penguin with the other penguins, only he’s having a little more trouble now! I had intended to make a video for this card but just ran out of time, so I’m hoping the photos will be enough of an explanation.  

I used the Cloud Edger stencil and Stormy Sky Distress Oxide ink for the sky.  After die cutting the snowbanks, I used a snowflake stencil (mine is Snowflake Swirls from Echo Park) with Versamark ink, before heat embossing it with sparkle embossing powder. The trees are also embossed with the sparkle embossing powder and are again, from the Sunny Studios Woodland Borders die set. 

To create the pull tab, I stamped the “Holidays” sentiment next to the tangled Penguin and then drew some lights through the word in a very tangled pattern with a copic multiliner pen.  I also used the same stencil and embossing powder to add the snowflake swirls to the pull tab.  Next, I added two strips of scrap cardstock at the left hand edge to create a stopper.  Finally, I added the word “pull” on the right edge and corner rounded those edges.


I created a channel for the pull tab by applying foam tape along the bottom edge of the card, and above the upper edge of the stopper on the pull tab.  I also placed foam tape to the left of where the pull tab would stop (so it wouldn’t disappear into the card), and two small pieces of foam tape at the opening edge to prevent the tab from pulling all the way out.  
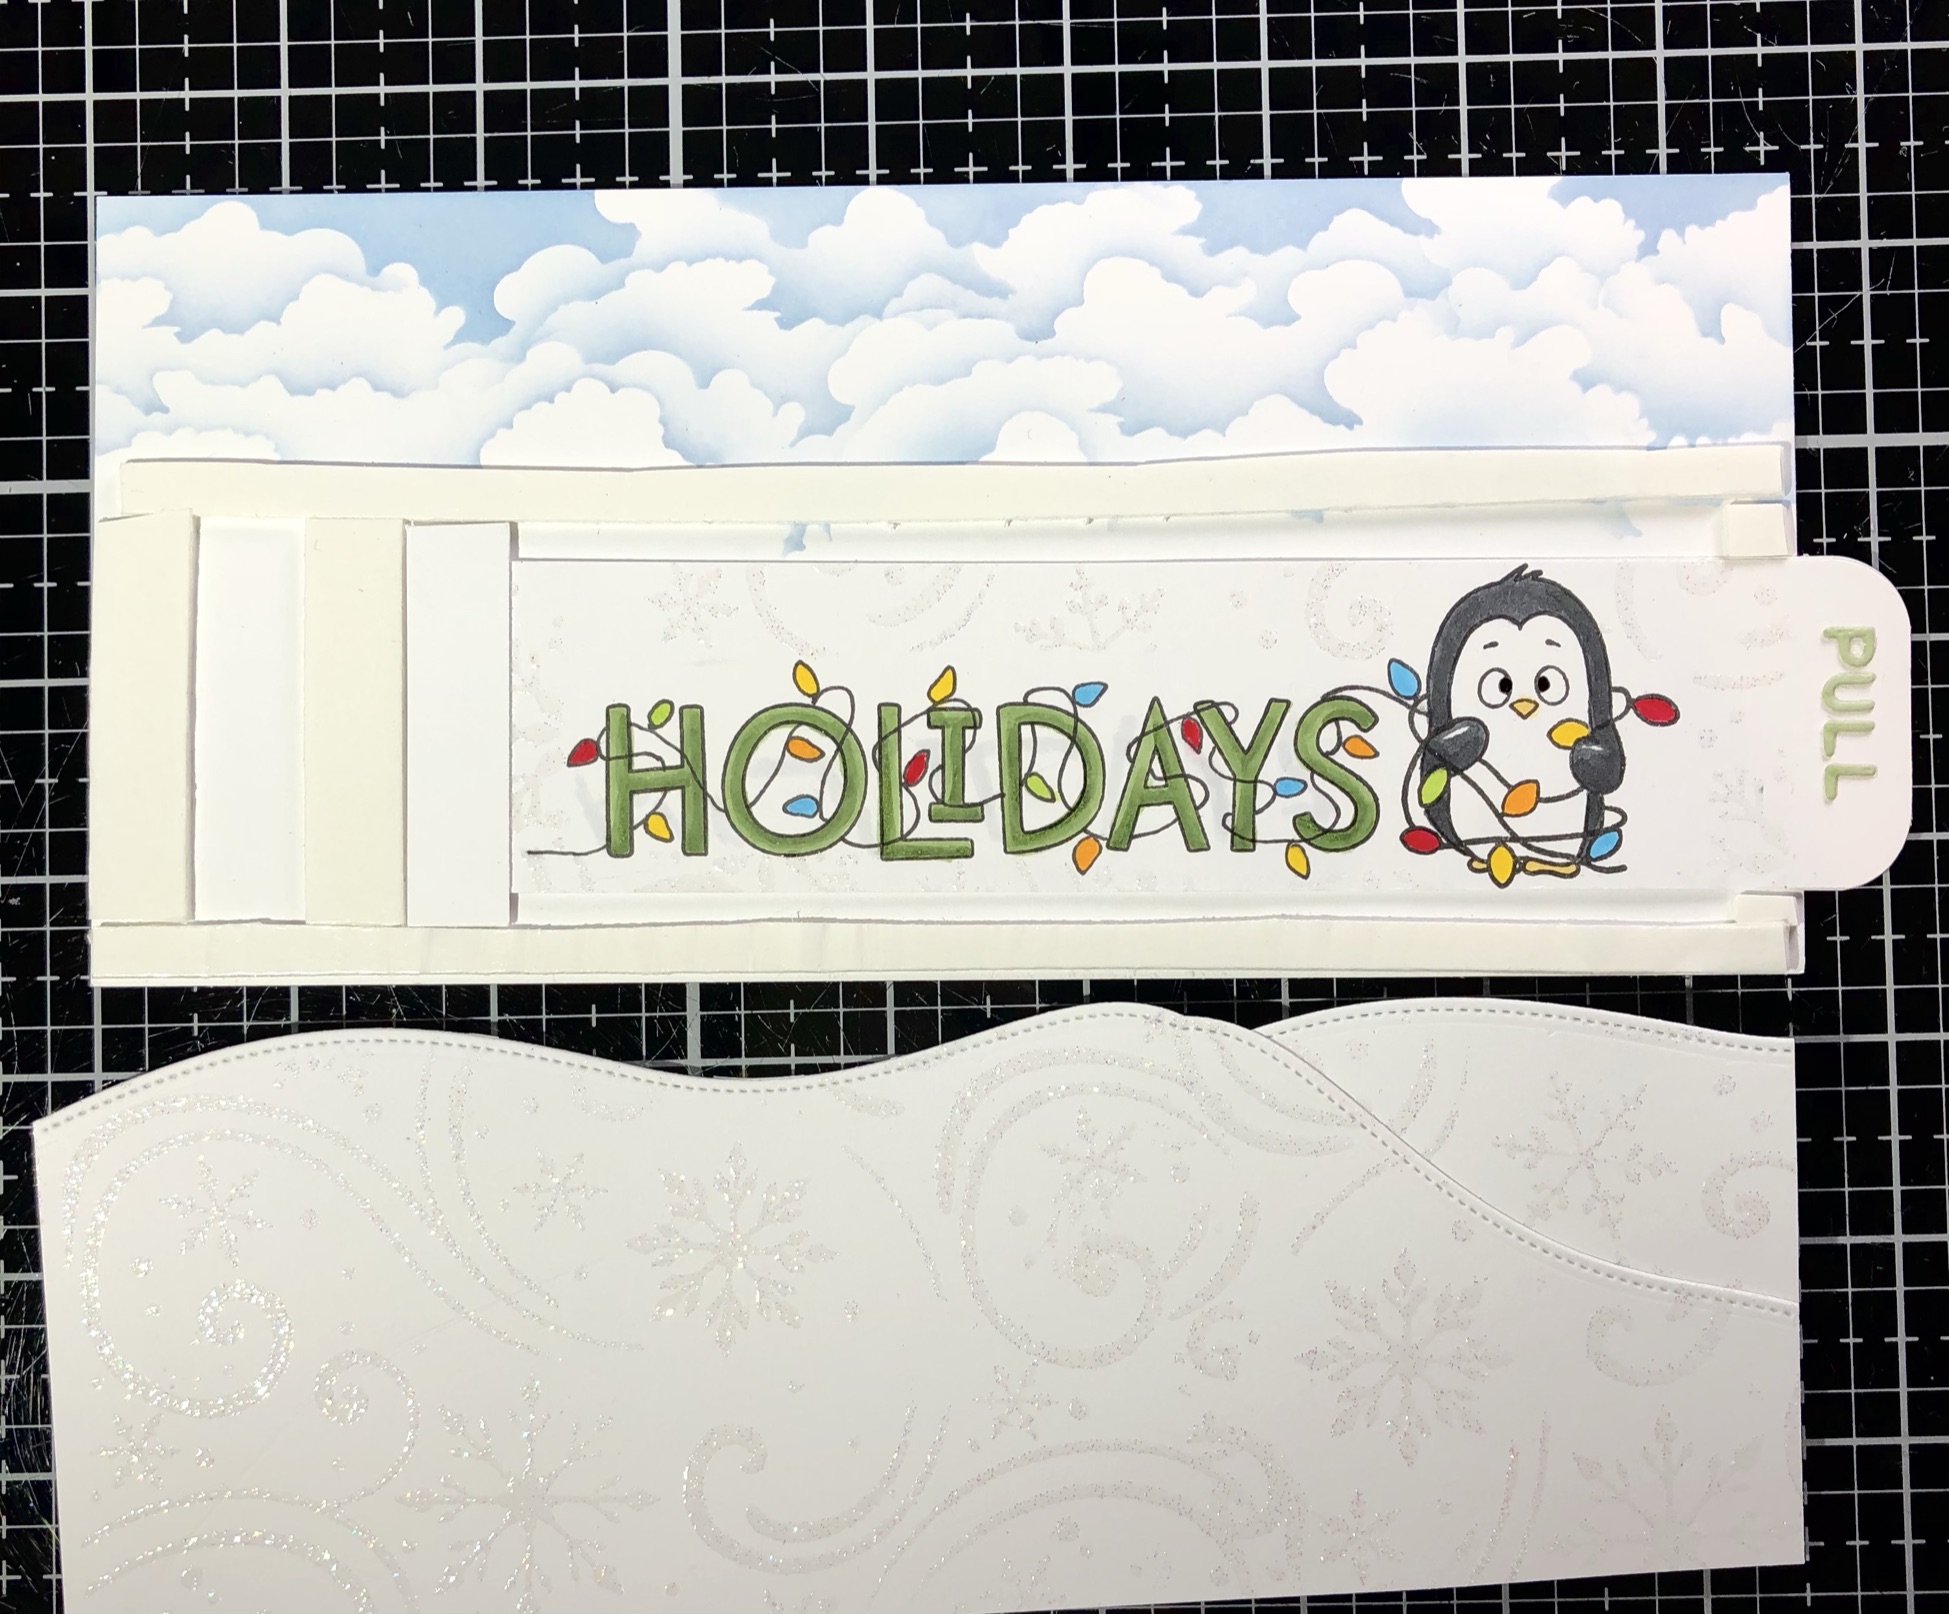


Next, I placed the tab inside the channel, removed the backing paper from the foam tape, and adhered the snowbanks over top to cover all the tape.  


I finished decorating the front of the card by adding the holiday penguins, the embossed trees and a little string of lights leading to the pull tab (this was my son’s idea and I loved it!).   

If you have managed to stay with me up to this point, huge kudos to you! I’m sorry for this being such a looooong post, but I wanted to share these ideas with you.  Thanks again for stopping by and I hope everyone has a wonderful Christmas!!


Wednesday, 2 December 2020

Sending Hugs Shaker Cards (from laminating pouches)

Hello and welcome back.  I’ve got a couple of shaker cards to share with you today made with the adorable, new Sending Hugs stamp set from Gerda Steiner Designs. I’ve made both my cards into Christmas cards but this stamp set is so versatile and could be used year round to send a paper hug, especially during these difficult times!  I’ve made both my shaker fronts from laminated pouches and I have a video for you if you want to see how I made them. 

 PLEASE CLICK HERE to watch the video.


This is my first card and I have to say I love that sentiment! I actually made this into a Christmas card which I think will be totally appropriate this year as we all stay socially distanced (I added  a Christmas sentiment inside).  I’ve listed the copic marker colours I used down below.  The Double Stitch Rectangle Frame die is from Poppy Stamps and the little silver bush is die cut from the Sizzix Holiday Greens, mini die set. The shaker front is made from a laminating pouch with MFT’s Christmas Background stamp done in white ink. 


This is my second card, and although it’s not a shaker card, there is some dimension to it as some of the trees are attached to the frame and sit off the background.  I added some Stampendous Shaved Ice flakes to a laminating pouch to just cover the outside edges of my card front, so it gives it a slightly frosty look.  The sentiment is the Snowy Merry Christmas die from Poppy Stamps and I’ve added some Nuvo Glitter Accents in Fresh Snowfall on the tops of the letters.  

Thank you so much for stopping by and I hope you’re having a great day! 

Copic Markers used:

Snowman - BG0000, C1, C0, Y38, YR16, B66, B63, BG57, BG18

Birds - N4, Y23, W4

Rabbit - W3, W2, W1, E40, C0, R20, R00, RV55, RV17

Squirrel - E13, E15, E17, E18, BG49, BG13

Wednesday, 18 November 2020

Stepped Up Snow Angels

Happy Wednesday everyone! I’ve got a step card to share with you that features the Snow Angel stamp set from Gerda Steiner Designs.  How much fun is it that these guys are making snow angels! 


I wanted my card to look like the characters were out on some snowy hillsides on a frosty day, so I chose to make a step card.  If you’ve never made one before, they are very easy to do and I’ve got a video made for you to see how I did it.  To watch the video, PLEASE CLICK HERE.


I embossed my snowbanks with an embossing folder from Kaisercraft called Circles.  The background sky was made with a stencil from a company called A Colorful Life and is called Cloud Edger, and I used Distress Oxide ink in Speckled Egg, Tattered Rose and Spun Sugar.  I used the Woodland Borders die set from Sunny Studios to create my snowbanks and for the trees.  I added some Nuvo glimmer paste in Moonshine to the trees, and some glitter accents in Fresh Snowfall around the characters arms and legs.  I mounted Santa, Rudolph and the snowman on action wobblers so they can get busy making their snow angels! 

Since this card tends to flop open, I decided to add a belly band around it with a sentiment on it.  


I hope this card has given you a little inspiration.  Have a great day and thanks for stopping by! 

Monday, 16 November 2020

Double Z Fold Cards with *Video*

Hello, and welcome!  I’ve got a couple of fun Double Z fold cards to share with you today.  If you’re a fan of slimline cards, you may really enjoy these.  Like the hillside trifold cards, they give you a lot of space to add images and there is a hidden area on them to add a surprise. However, they fold down to the same dimensions as a typical A2 card and fit in the same size envelope.

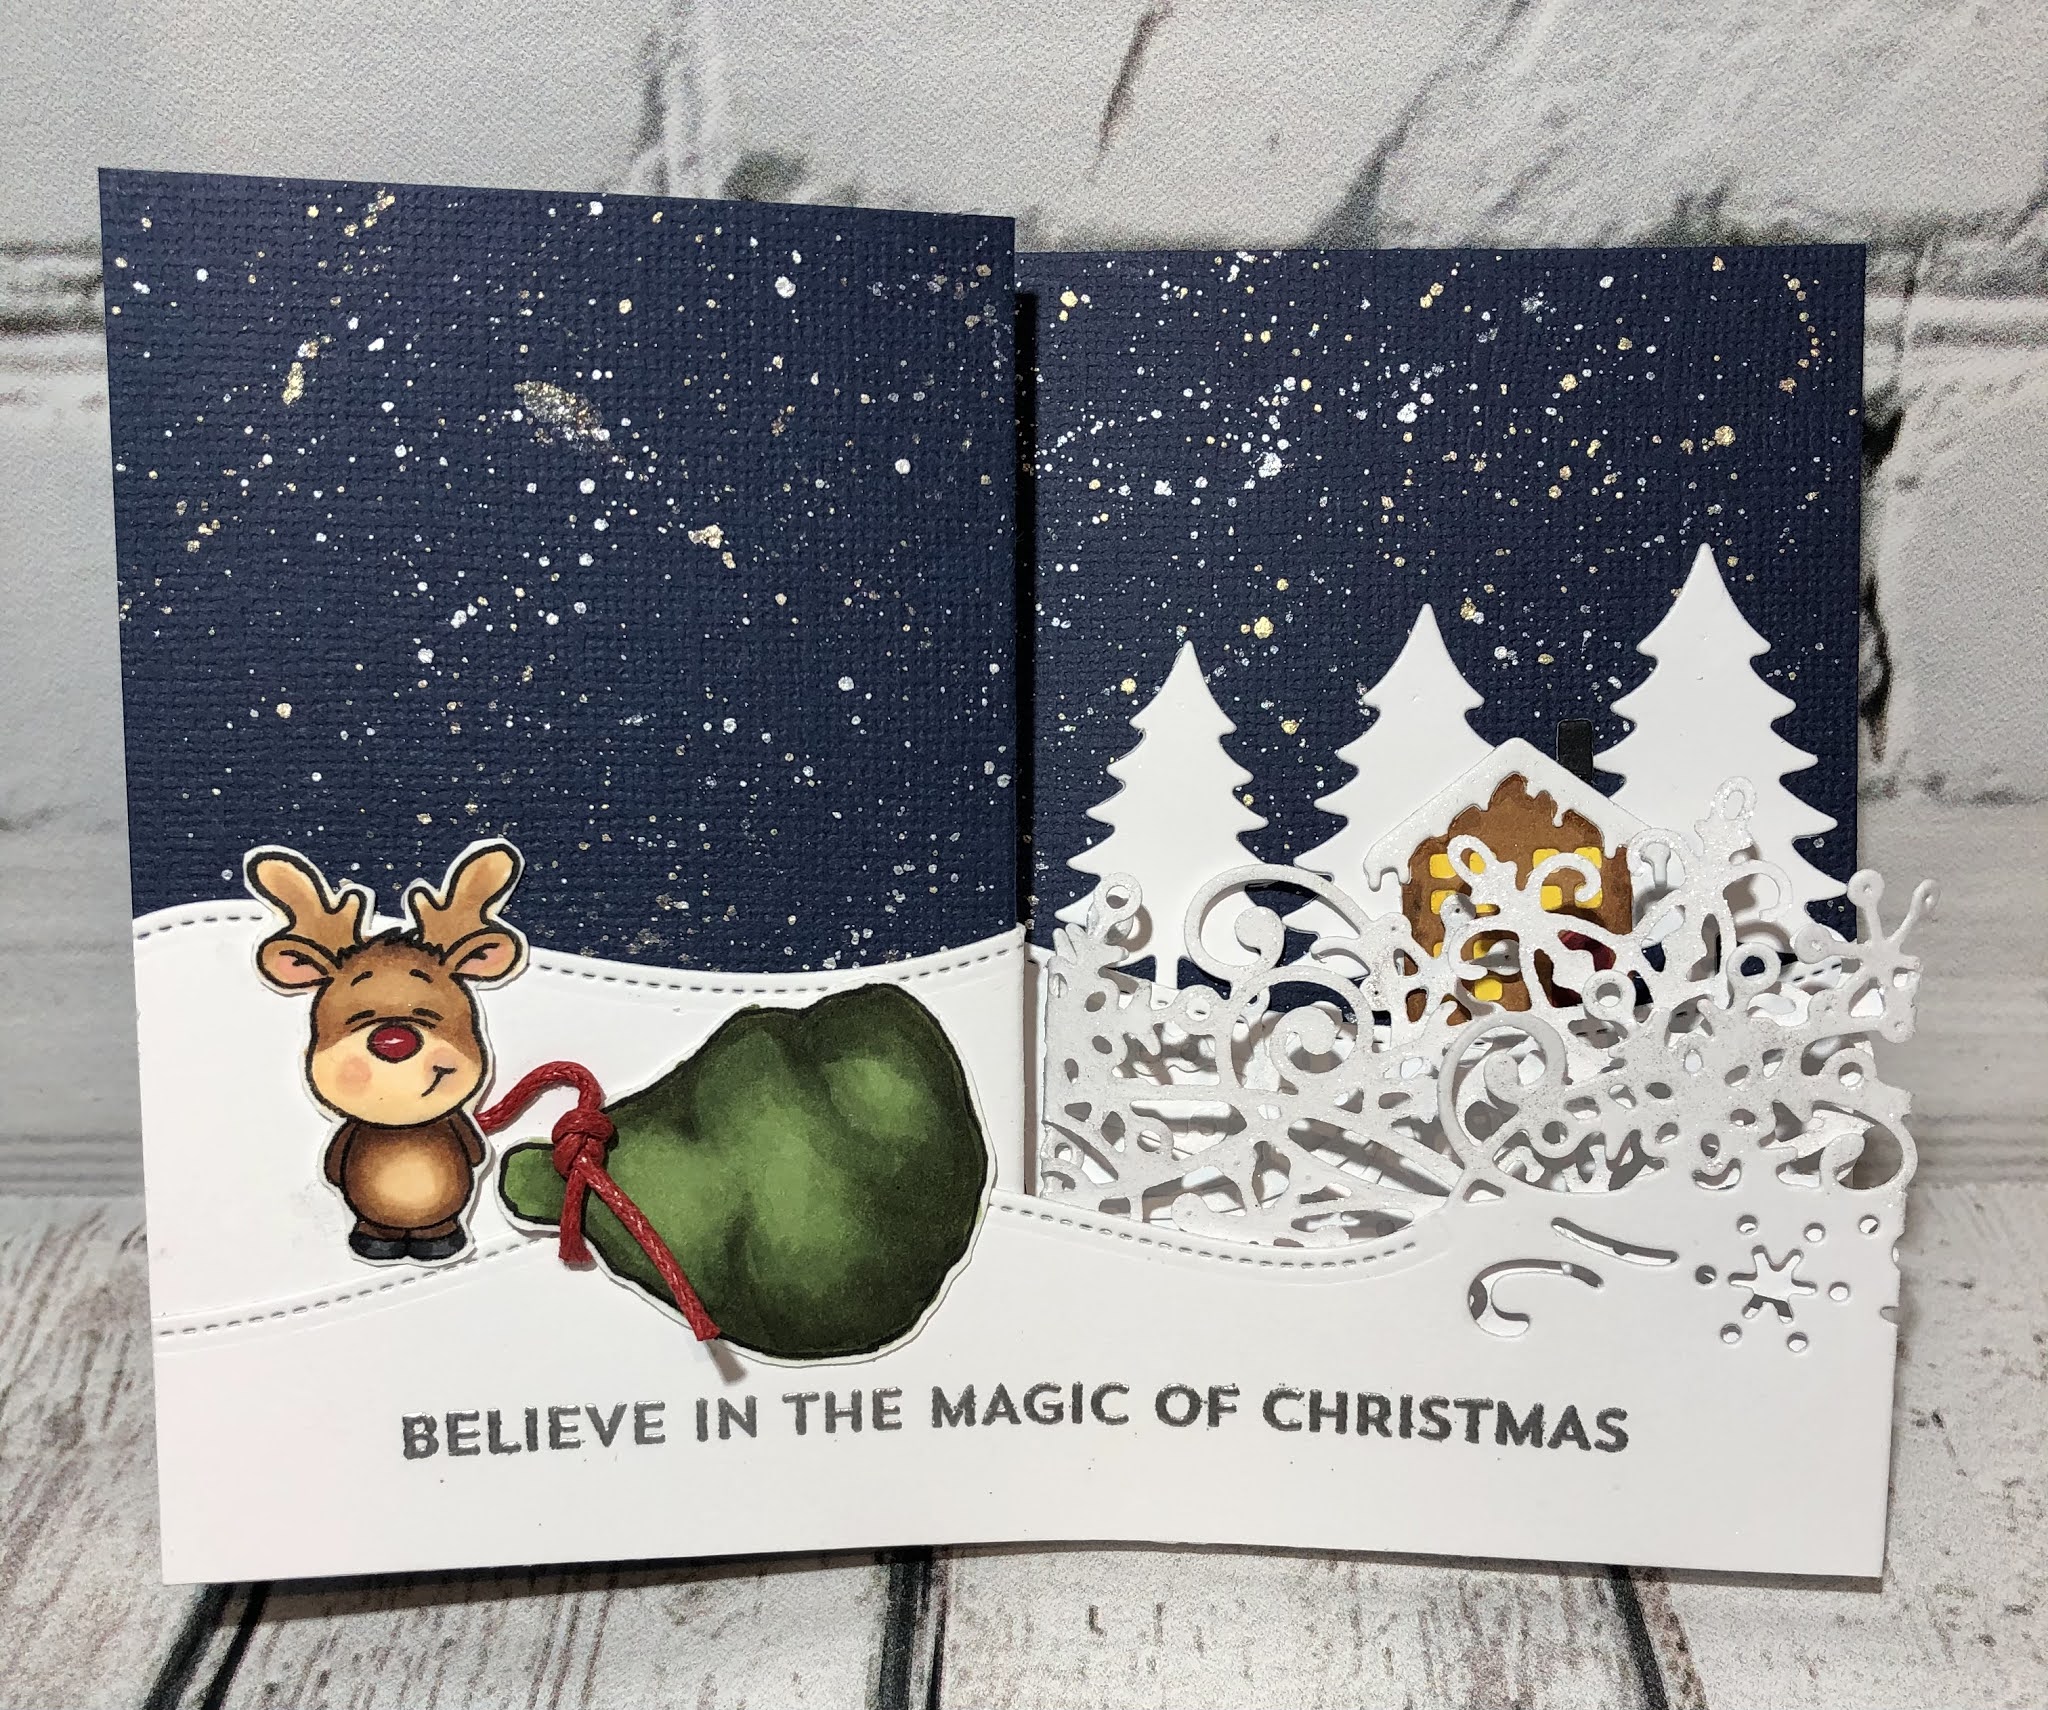
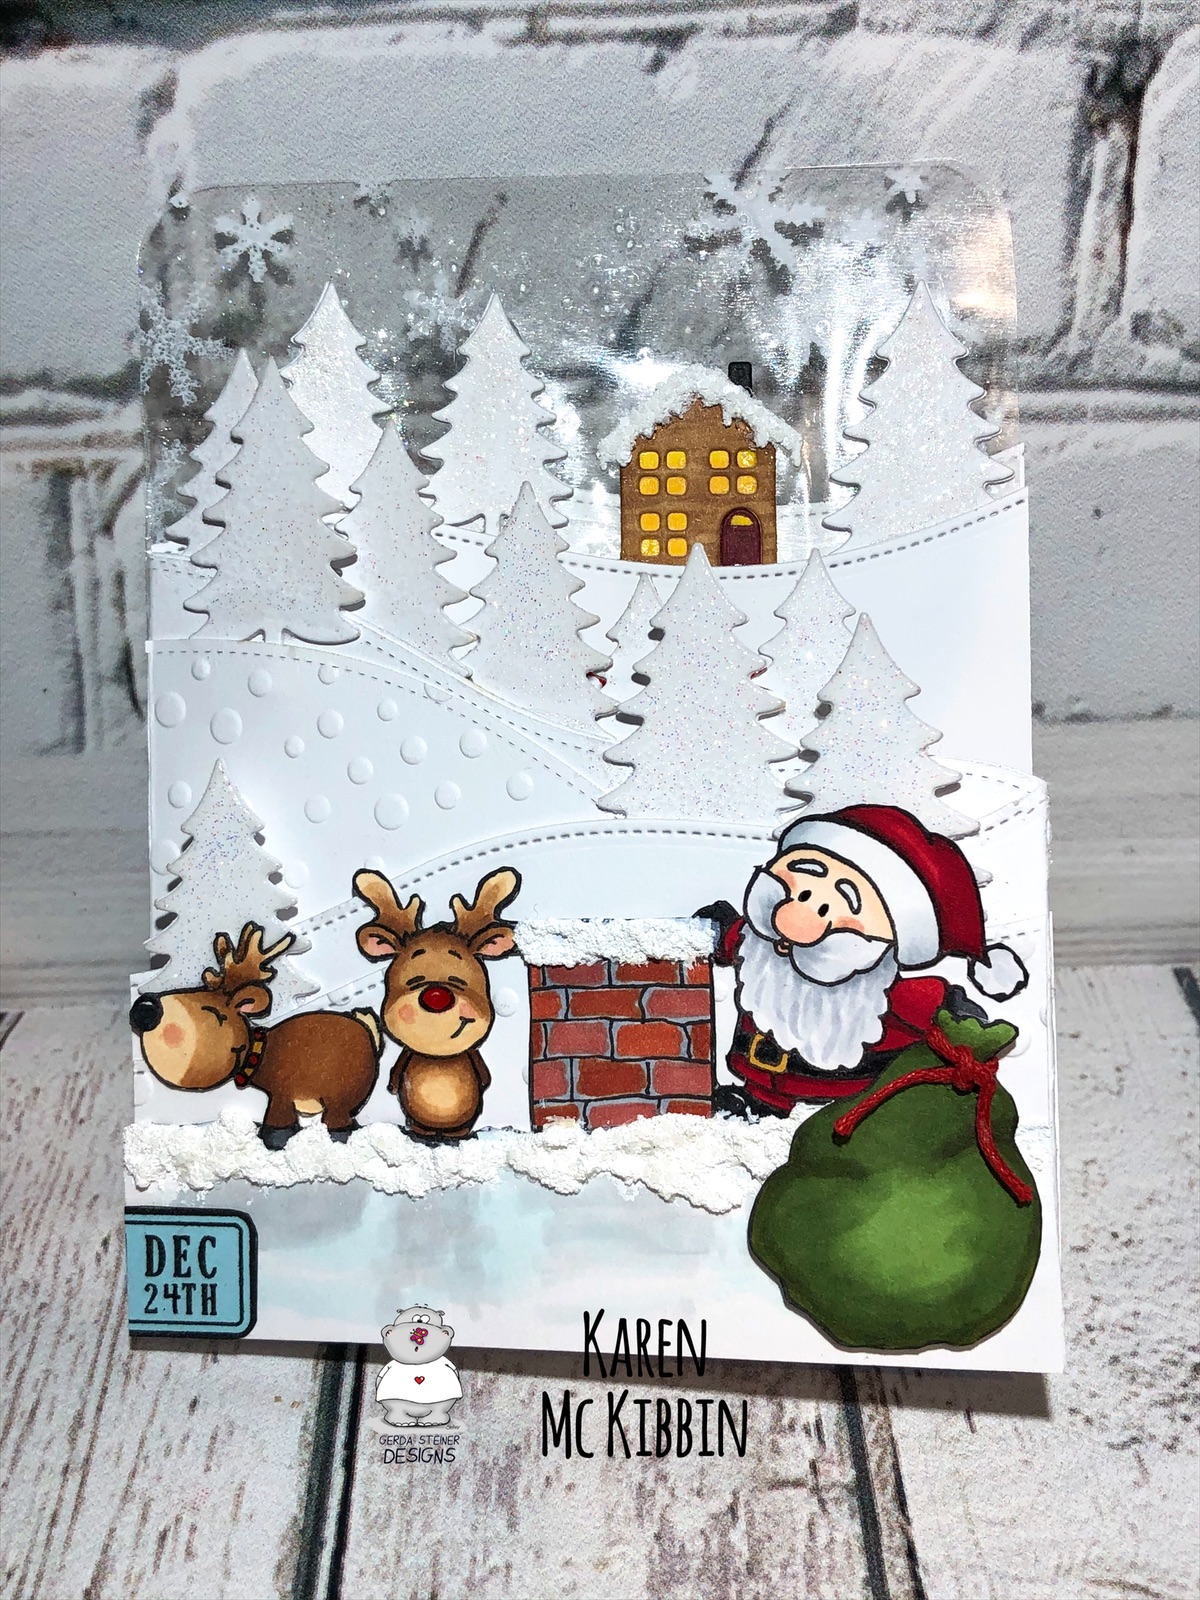
My first card features the super fun and versatile Reindeer and a Tree stamp set from Gerda Steiner Designs.  I absolutely love this set and I don’t think I’ve run out of ideas for how to use it yet. On this card, there’s trouble on the rooftop for Santa, and Rudolph, who looks so innocent, is keeping Santa’s sack away from all that mayhem! 

The card looks like this on the front when closed ...


The inside of the card looks like this ... 


My second card features the sweet Holiday Penguin set from MFT Stamps.  It’s got a fun, laminated sky in it which is very shiny but it’s hard to see that in the pictures.  


On the inside the rest of the penguins are busy decorating.  

If you would like to see how I made these cards, I have a video up on my YouTube channel for you.  To see it, PLEASE CLICK HERE.  There is also a list of the supplies I used listed below the video in the description.  

Thanks so much for stopping by and I hope you’re having a great day! 


Wednesday, 4 November 2020

Reindeer Holiday

Hello, I’m back with another Christmas card featuring these adorable  “Reindeer and a Tree” stamps from Gerda Steiner Designs.  I couldn’t resist making just one more card with them and I had so much fun with my last Hillside trifold card, I made this one into one too. 


So, in my mind, this card tells the story of  Christmas Eve on the front of the card with the reindeer and Santa hard at work as shown here.  I stamped and added the date as if it was a page on the calendar and drew the chimney and rooftop as well as the sack.  I used the Woodland Border die set from Sunny Studios to create the hills and trees, and an embossing folder from Taylored Expressions called Snowfall. The little house is from a Memory Box die set called Cabin Snowglobe. 

What I really love about these trifold cards is that you can have another hidden story on the inside pages.  So for mine, the inside is Christmas Day when Santa and the reindeer are able to have a holiday, or in this case, a snowball fight! 


Now, I’m fairly sure these reindeer weren’t meant to be throwing snowballs, but my imagination just kind of got away from me.  The snowballs are made from Snow-Tex and I just cut rough circles for the fort walls, and used a paper punch for the snowballs once it was dry.  That see-through sky idea is from the amazing Jennifer McGuire who used laminating folders and stamping to create see-through elements.  Here is a link to her video:  https://youtu.be/xpneNLweV9w.  I love that these cards feel extra sturdy due to the layers of embossed hills and they stand upright very easily.


I made a video that I posted on my YouTube channel last week showing how I made this style of card.  There are actually two cards on that video so if you want to jump ahead to the second card that features this same stamp set, it starts around the 9:00 minute mark. Here’s the LINK TO MY VIDEO if you missed it.  And here’s what the card on the video looks like if you missed it.


I hope that these cards may have inspired you to give this card style a try.  Thanks for stopping by and I hope you are having a great day! 


Wednesday, 16 September 2020

Z Fold Merry Wishes Christmas Card

 Hello and welcome! I’ve got a Z fold Christmas card to share with you today, that features the Merry Wishes stamp set from My Favorite Things. This is an adorable stamp set! 


K


I started by cutting my card base from navy blue cardstock (dimensions are 4 1/4” x 11” long).  I creased this at the 5 1/2” mark to make a regular A2 size card.  Then I creased the left hand side again at the halfway mark or 2 1/8”. I splattered the sky with some gold and silver paint and let it dry. 

Next, I die cut a snowbank by using Lawn Fawn border dies and doing some partial die cutting to extend the length so that the snow bank would extend fully across the scene.  The height on mine extends about a third of the way up the background.  I creased this the same way I had done the card base, and then adhered it with glue to the card base, leaving the top border free of glue to later insert my figures.   I cut a second snowbank  in the same way to use along the bottom border.  I creased this one at the 5 1/2” mark, and again at the 7 5/8” mark on the right and then creased and folded this in the opposite direction from the base.  This snowbank only extends about a quarter of the way up the background to allow the snowbank behind to be seen.  I also used a Lawn Fawn stitched heart die to add some detail to the snowbank.  

I adhered the second snowbank by glueing it to the short left hand card base and also on the short right hand side of the snowbank.  


The white trees were cut from white cardstock using the Alpine Trees from Memory Box and then inserted and glued in place just below the left hand snowbank.  The Merry Christmas die is one I had in my stash, and I cut it from a red glitter cardstock, and glued it to the snowbank on the left.

I stamped all my images with Copic friendly ink, and then coloured them in with Copic markers. After fussy cutting them out, I arranged them on my card base.  I wanted it to be a surprise when the card was opened and the whole scene was revealed, so I was careful to place most of the images in the middle of the card.  From the front, only the bird and the cabin are visible when the card is closed.  I added sparkle pen to the tree decorations and lights, as well as the star the bird is carrying.  I also added a Nuvo shimmer pen along the edges of all the snowbanks.  

I added a piece of white cardstock on the back as I felt the card needed a place to write a message.  This truly is a fun card and I hope you’ll give it a try! 


Friday, 5 July 2019

Christmas Penguins 3D card

Hello everyone! I'm doing Christmas in July for this third week of the Daily Marker Challenge so here is a fun 3D style penguin card.


To see an HD video of how I made this card, click HERE.


I used several sets of stamps for this card.  The front of the card is made with an adorable stamp set from Your Next Stamp called "Santa's Helpers".  The sentiment on the front is from Lawn Fawn's "Here we go a Waddling".  I stamped the extra two penguins next to the chimney and then used a copic multiliner pen to draw an extension of the snow behind them to make it look like they were on the roof.  After colouring the images with copic markers I stamped the sentiment onto the front.  Unfortunately, my card front moved in my stamp positioner, so it stamped a double image and I had to resort to stamping the sentiment on a scrap piece of paper and fussy cutting it out.  I masked off the images and then ink blended on some Distress Oxide in Tumbled Glass and Blueprint Sketch. Then without removing the masks, I placed the Simon Says Stamp "Falling Snow" stencil over my card front and applied Nuvo Moonstone  glimmer paste over it.  I also added some Nuvo Shimmer pen to the snow on the roof to give it a nice shine. Lastly, I adhered my sentiment with foam tape.

The inside of the card uses stamps from Mama Elephant's "Cool Penguins" and "Little Agenda Trains", as well as a few from My Favourite Things "Santa's Elves". All of these were coloured with copic markers and cut out.

I had decided that I wanted the inside of the card to look like the inside of a house or possibly Santa's Workshop. I masked off the bottom third of the two sides and the central portion of my card base.  I ink blended these areas with a combination of Distress Oxide Dried Marigold and Tattered Rose. In the upper areas of the two sides, I stamped Simon Says Stamp's "Quilted Hearts" background stamp with Versafine ink, and then embossed with a pearl snow embossing powder.


I also cut 3 extra panels of cardstock to layer inside the card and give it a 3D effect. The first piece measured 6" x 4.25", the second was 5" x 3/4", and the third was 4" x 1.25".  Each of these pieces were scored at 1/4" from each end, and again in the middle of each piece. I ink blended each of these with the same Dried Marigold and Tattered Rose Distress Oxide inks.  I folded each crease so that the ink blended side faced outward.  On the largest piece (6" x 4.25"), I die cut the center out.  This die cut could be almost any symmetrical shape you like - a rectangle, circle oval etc..  I then adhered 1/8" double sided tape to each of the side tabs on all three pieces of cardstock.


I removed the backing paper from the left hand tab of the 6" x 4.25" piece of cardstock.  After making sure the center creases lined up, I adhered the left hand side down.  I then did the same with the 5" piece of cardstock and made sure that it was far enough down that the bottom edge was below my die cut opening of the larger piece. I also made sure that the centers were lined up.  Finally, I did the same with the 4" piece, again being sure the centers lined up.


Then I positioned my tree where I wanted it, which ended up being in the center of the card.  I had to make a crease along the center of my tree using my score board and bone folder.  I glued my tree in place, again making sure the centers lined up.  Then I removed the backing paper from the right hand side of each of my cardstock tabs and adhered them to the right side of my card base, again making sure the centers lined up.  I find I need to use my bone folder quite a bit to help "flatten" the layers, and that I need to open and close the card several times to get the tabs to move and crease in the correct way.


I then positioned all my images where I wanted them to be on my card and adhered them with glue to my card base.  Just be careful that when you adhere them, they are not too close to the edges of the tabs as sometimes they may catch when the card is closed.  Using temporary glue or tape may help with this.


Finally, I like to have a little more room to write a message, so I added an extra back to my card. I cut a piece of cardstock that measured 5.75" x 4.25" and made a crease at 1/4" from the 5.75" edge using my score board and bone folder.   I then stamped my sentiment (from the same YNS "Santa's Helpers" that I used on the front of my card) using Versafine ink onto this piece of cardstock.  I placed 1/8" double sided tape along the creased edge, removed the backing paper and lined it up with my card base so that the tab lined up with my card and adhered them together.  Then I adhered the front of my card to the card base with my ATG tape runner and my card was done!!


 Thank you so much for stopping by and please let me know if you have any questions, suggestions or comments for me down below.