Friday, 21 July 2023

Square Frame Flower Card

Hello and welcome back!  I've got a simple card to share today - I'd like to say it is a CAS card, but I don't seem to know how to do that.  😅


Paper Rose Studio Supplies: Little Etched Butterflies Metal Cutting Die 25609, Etched Blooms 4 Metal Cutting Die 28939, Black & White A5 12pc Sentiment Sheets 19023, Stitched Square Frames Metal Cutting Die 16685

The background of this card was actually a gel print that I had done using some Cosmic Shimmer Shimmer Paints.  I wasn't happy with it and had put it aside quite a while ago, so I was more than happy to use it in this card.  I cut the background down to be 5.5" x 5.5" and glued that to a card base of the same size.  

I die cut the square frames from white card and layered them up.  There are two layers on the larger frame and three layers of the smaller one.  I glued these in place over the centre of the card.

I die cut 3 of the flowers from white card and glued the layers together.  This die has a base and then layers of petals that go on it.  I love the look of this flower!  I glued these in place, tucking the stem ends just under the square frame. 

I die cut the butterfly from white card twice, and coloured it with Copic markers (BG11, BG15 and YG21). I used a gold gel pen to colour the body and antennae.  I glued just the body and antennae of the two butterflies together and then lifted the wings of the uppermost butterfly when it was dry.  I glued the butterfly onto the centre square above the flowers.

The sentiment was foiled in my laminator with DecoFoil in Jade, but it is hard to see that in the photo.  I glued it into place just below the flowers.

Thank you for stopping by and I hope you're having a great day!

Wednesday, 12 July 2023

Christmas in July!

Hello again!   Now, I know this may be early for some of you, but one of the themes this month at Paper Rose Studio is Christmas in July.  And since I've been making Christmas cards already on my other design teams, I thought it was only fair to make one for Paper Rose Studio. 😀

Paper Rose Studio Supplies Used: Crisp Christmas A5 12pc Sentiment Sheets 19772, Three Candle Circle Metal Cutting Die 26026, Aussie Christmas - Gum Leaves & Holly Circle Metal Cutting Die 27397 , Holly 6x6" Stencil 19721

Other Supplies: Liquitex Gloss Heavy Gel, Distress Ink in Festive Berries and Aged Mahogony, Distress Ink reinker in Festive Berries, Distress Glitter Dust, Cosmic Shimmer Luna Paste in Moonlight Pearl, Ranger Glossy Accents, microbeads.

I started this card by doing some ink blending with the Festive Berries Distress Ink on an A2 card front, and I tried to get a darker application out towards the edges.  Then I die cut the Three Candle Circle from the center of the card.  I also cut this from white card and just cut out the candle and leaves portion.  I coloured the candles with Copic markers, and applied the Luna Paste over the leaves.  Then I covered the candles with Glossy Accents and while it was still wet, I sprinkled on a little of the glitter.

I wanted some more interest on the background, so I created a paste from the Liquitex gel, Festive Berries, and a little of the Glitter Dust. 


I spread this paste over the Holly stencil and set it aside to dry.  Once it had dried, I applied the Aged Mahogony ink around the edges.  I hadn't thought about adding the Aged Mahogony prior to applying the paste, but that would have been better.  The Liquitex gel is very glossy so it gives a very pretty finish and the glitter dust just helped to add a little sparkle that matched the one on the candles.

On a piece of white card, I applied a light layer of the Luna Paste and let that dry.  I cut the Gum Leaves & Holly die from this, and again from white card two more times. I layered these die cuts up with the Luna Paste one on top.  I paper pieced the leaves back into the die cut by applying a small piece of cellophane tape to the back of the die cut and then inserting the die cut leaves.  Next, I glued this stacked die cut over the Three Candle circle on the card front.

I struggled with what to put in behind the candles, as gold mirror card was too shiny and white too boring.  Finally, I applied a layer of double sided adhesive over some gold mirror card, and covered this with microbeads, and pressed them in using the release paper.  This doesn't show up well in the picture, but in real life, there's a really fun texture behind the candles.

I glued the card front down to an A2 sized card base.  I used my laminator to foil the sentiment, using a satin gold foil. I trimmed this down and lastly, glued it to the circle just below the candles.

Thank you so much for joining me today, and I hope you are ok with a very early Christmas card!


Sunday, 2 July 2023

Outside Tunnel Cards - New Design *VIDEO*

Hello and welcome! I've created my own design for an outside tunnel card and I'm sharing it with you today.  I always like cards with dimension, so these definitely checked that box for me. Here's a look at the cards I created in the video...


Ok, I know that last one isn't a tunnel card, but I did create it from the cutout centres of one of the tunnel cards.  The finished size of these cards are 4.25" x 5.5" when open, and 5" x 5.5" when flat.  So you would need a slightly larger envelope to fit these.  I have a complete list of supplies used in the video description.  I hope you'll come join me to see how these were made.  To see the video, PLEASE CLICK HERE.  Thank you for stopping by and I hope you're having a happy, creative day!


Wednesday, 21 June 2023

Tulip Trifold Card

Hello everyone, I've got a trifold card to share today, but it could easily be just a regular card and I'll show you how.  This card is a little smaller than typical, measuring 4" x 5".


Paper Rose Studio Supplies:  Tulip Border 1 Metal Cutting Die 29674, Summer Picnic Die Cuts 29952, Stitched Ovals Metal Cutting Die 16551, Black & White A5 12pc Sentiment Sheets 19023, 19499 Clear Crystal Mix

I started making this card by watercolouring two panels on Bristol cardstock.  I used reds, yellows and some orange on one of the panels, and more blue, green and purple on the other one.  I added some Spectrum Noir Sparkle Ink in Crystal Clear, but you could easily add any shimmer pen or embossing paste instead.  If you don't want to make this into a trifold card, just choose one colour combination.  Once the paint was dry, I die cut the oval shapes (I used the third largest oval die in the collection ~ 3"x4"). I also cut 2 - 1" x 4.75" panels from each colour.  I also cut three more ovals from white cardstock to use on the inside.

Next, I cut two 4" x 5" card bases from a 10" x 4" piece of white 100# cardstock. If you want to make the trifold card, I trimmed the tiniest ~1/8" from the right hand edge of each card base (this just allows the card to fit together better when joined).  On the right and left edges of the card front, I attached the two border panels, leaving a small white border around the edges.  If you are making the trifold card, the second card will fold out from the opposite side (left to right), so the front panel of this card will be on the far right when the card is open.  

On the front of one of these card bases, I cut out the Tulip Border 1 die, centering the tulips in the middle of the card front.  Since the tulips cut into the watercoloured portion of the card, there will not be a white border there.  To get around that, I cut another of the Tulip Border 1 die from white cardstock twice and then fussy cut out the tulips.  It was quite easy to do this, but you could easily pencil in a cutting line first and then cut that out.  I glued this tulip outline over the tulip on the card front, and also on the blue one if you're making the trifold card.

Next, I placed the oval behind the tulips on the first (orange, yellow, red card) and glued it in place by adding glue to the backs of the tulips and along the outside edges of the oval where it met the right and left border of the card front.  If you are making the trifold card, just do this on the regular card front for now.  To determine the placement of the inside, center oval, I placed my card face down on my work surface, and placed one of the white ovals over the first oval with the good side facing down. I then added glue to the back of this oval, and making sure it was lined up with the already glued front oval, I carefully closed the card back and pressed the oval into place. Just check the front to be sure the ovals are definitely lined up correctly. 

At this point, you could choose to just leave this as a regular card, and then decorate the front and add a sentiment.  However, if you want to make the trifold, I attached the second card base to the front one by gluing the left hand side behind the first card base.  I still hadn't attached the oval behind these tulips, so I placed the watercoloured oval over the middle one in the first card base with the coloured side up.  I glued the back of the tulips on the second card base and just along the edges of the borders where the oval would attach.  Keeping the oval in place over the already glued center oval panel, I carefully closed the right hand card front and pressed it into place so the oval was now glued in place.  Just check again that you've got them lined up correctly.  Finally, I used the two extra white ovals I had cut to cover the inside of the watercoloured ovals as mine were quite messy from the ink.  Then I used the die cuts from the Summer Picnic set to decorate the left and right ovals. 

Finally, on the front, I attached the sentiment and added a few crystal drops from the shaker mix. Whew, if you've made it to this point, kudos to you for sticking it out! 😀  Thank you so much for joining me for this very lengthy explanation - I had intended to make a video as that would have been so much easier, but I just ran out of time. 


Monday, 12 June 2023

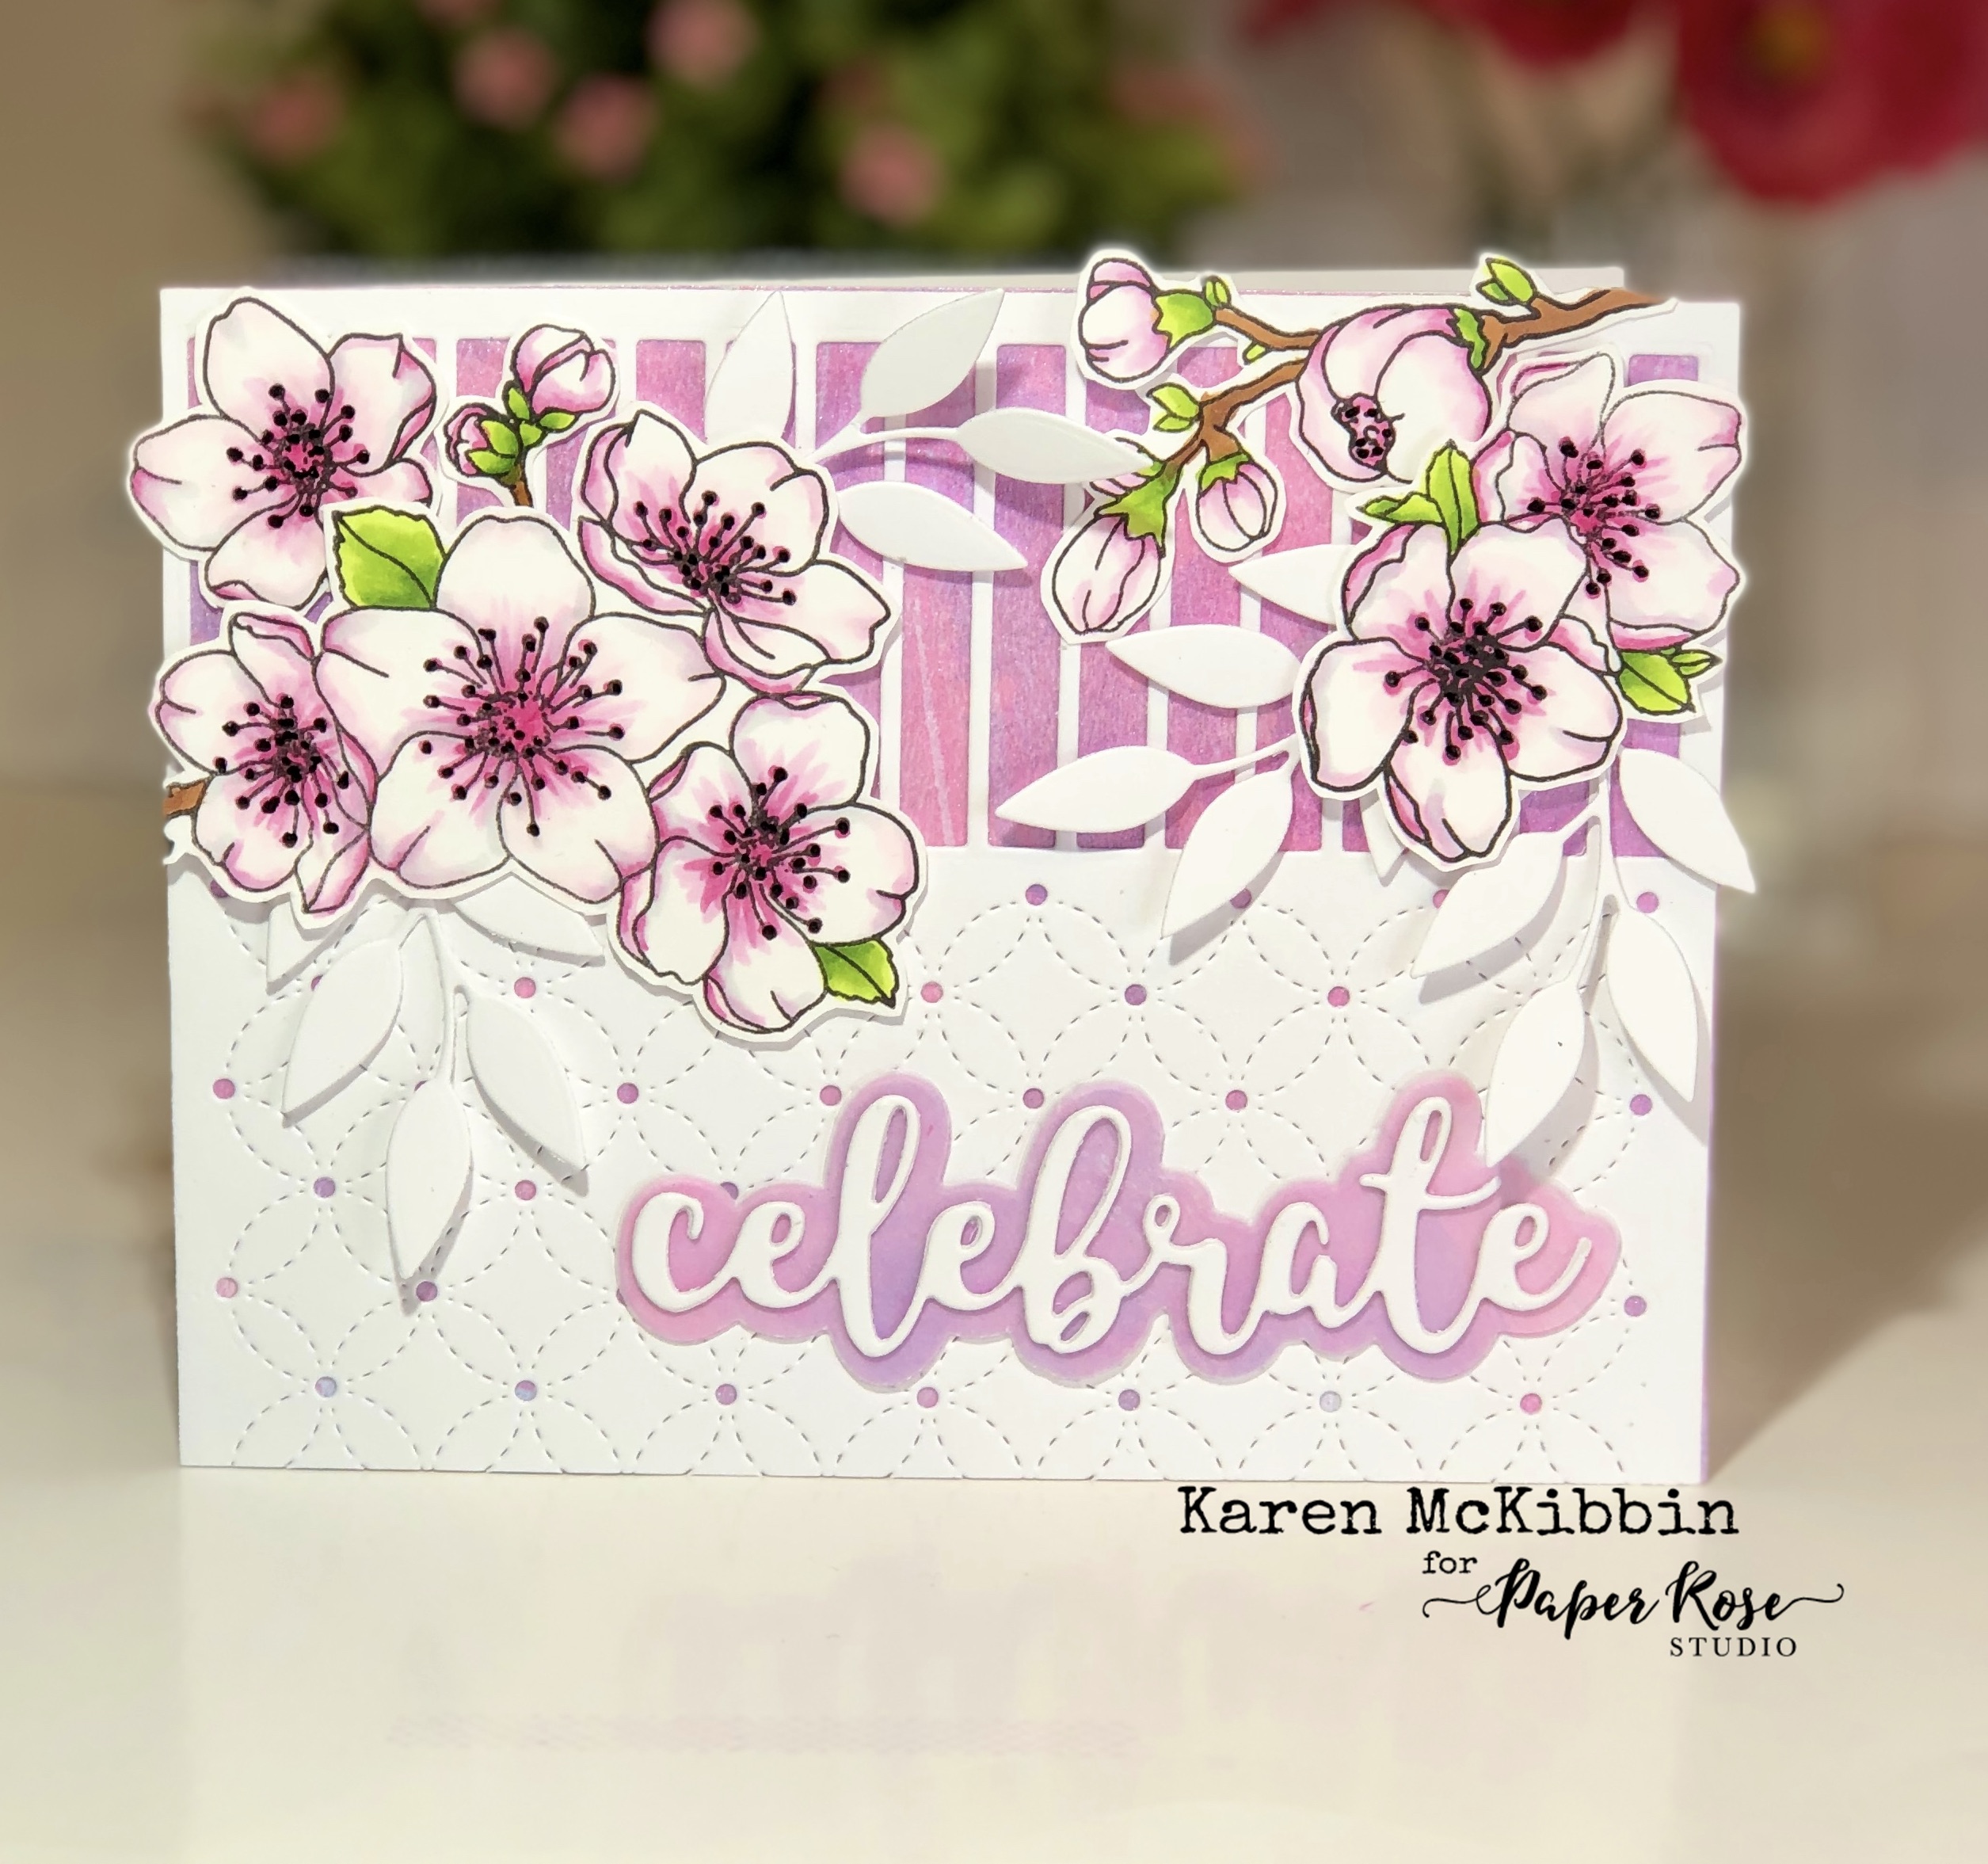
Blossom Celebrate Card

Hello again, and welcome!  Today I've got a Celebrate card that while it's fairly generic and could be used for a number of occasions, it is definitely a feminine card.  I created this card in May, and in my part of Canada which is near the Rocky Mountains, spring tends to be a little slow in coming, so the blossom trees were all in bloom. 


Paper Rose Studio Supplies: Lovely Florals Blossom Flowers 4x6" Clear Stamp Set 18183Horizontal Border Metal Cutting Die 28396Hand Stitching Coverplate Metal Cutting Die 26020Celebrate Layered Metal Cutting Die 17454Little Foliage 2 Metal Cutting Die 21102.  

Other Supplies: Cosmic Shimmer Shimmer Paint AzureCosmic Shimmer Shimmer Paint Rose PinkCosmic Shimmer Shimmer Paint Pearl.

I started this card by colouring in the flower blossoms with Copic markers on Neenah Solar White cardstock (using RV55, RV52, RV000, YG01, YG03, YG17, E25).  I tried to leave as much white space as I could - something I'm not very good at doing!  I used a Sakura black gel pen to add in the black dots in the centres, and then fussy cut out the flowers. 

I die cut about 4 of the leaves in the Little Foliage die set from white cardstock and set those aside with the flowers.  I also die cut the Celebrate die 3 times from white cardstock and glued them together.

On my card front, I cut the Horizontal Border die from the top of the card.  I then lined up the Hand Stitching Coverplate die to cut just below where the border die had already cut.  

To create the pinkish background, I made a gel print using the shimmer paints listed above.  I know you can't see it in the photo, but those shimmer paints are very shimmery in real life, so there's a beautiful shine wherever the gel print shows through.    Once the background was dry, I cut out a piece to cover my card front, and I also die cut the Celebrate shadow from the same gel print.

Next, I layered the white die cut front over the gel print background, and then arranged the flowers and leaves over the top of the card.  I popped some of the flowers up on scrap card to give a little more dimension.  Finally, I glued the white Celebrate word to the shadow background and attached it to the bottom of the card. 

Thank you for joining me today and I hope you are having a great day!

Friday, 2 June 2023

5 Cards from Patterned Paper and a New Fun Fold Technique *VIDEO*

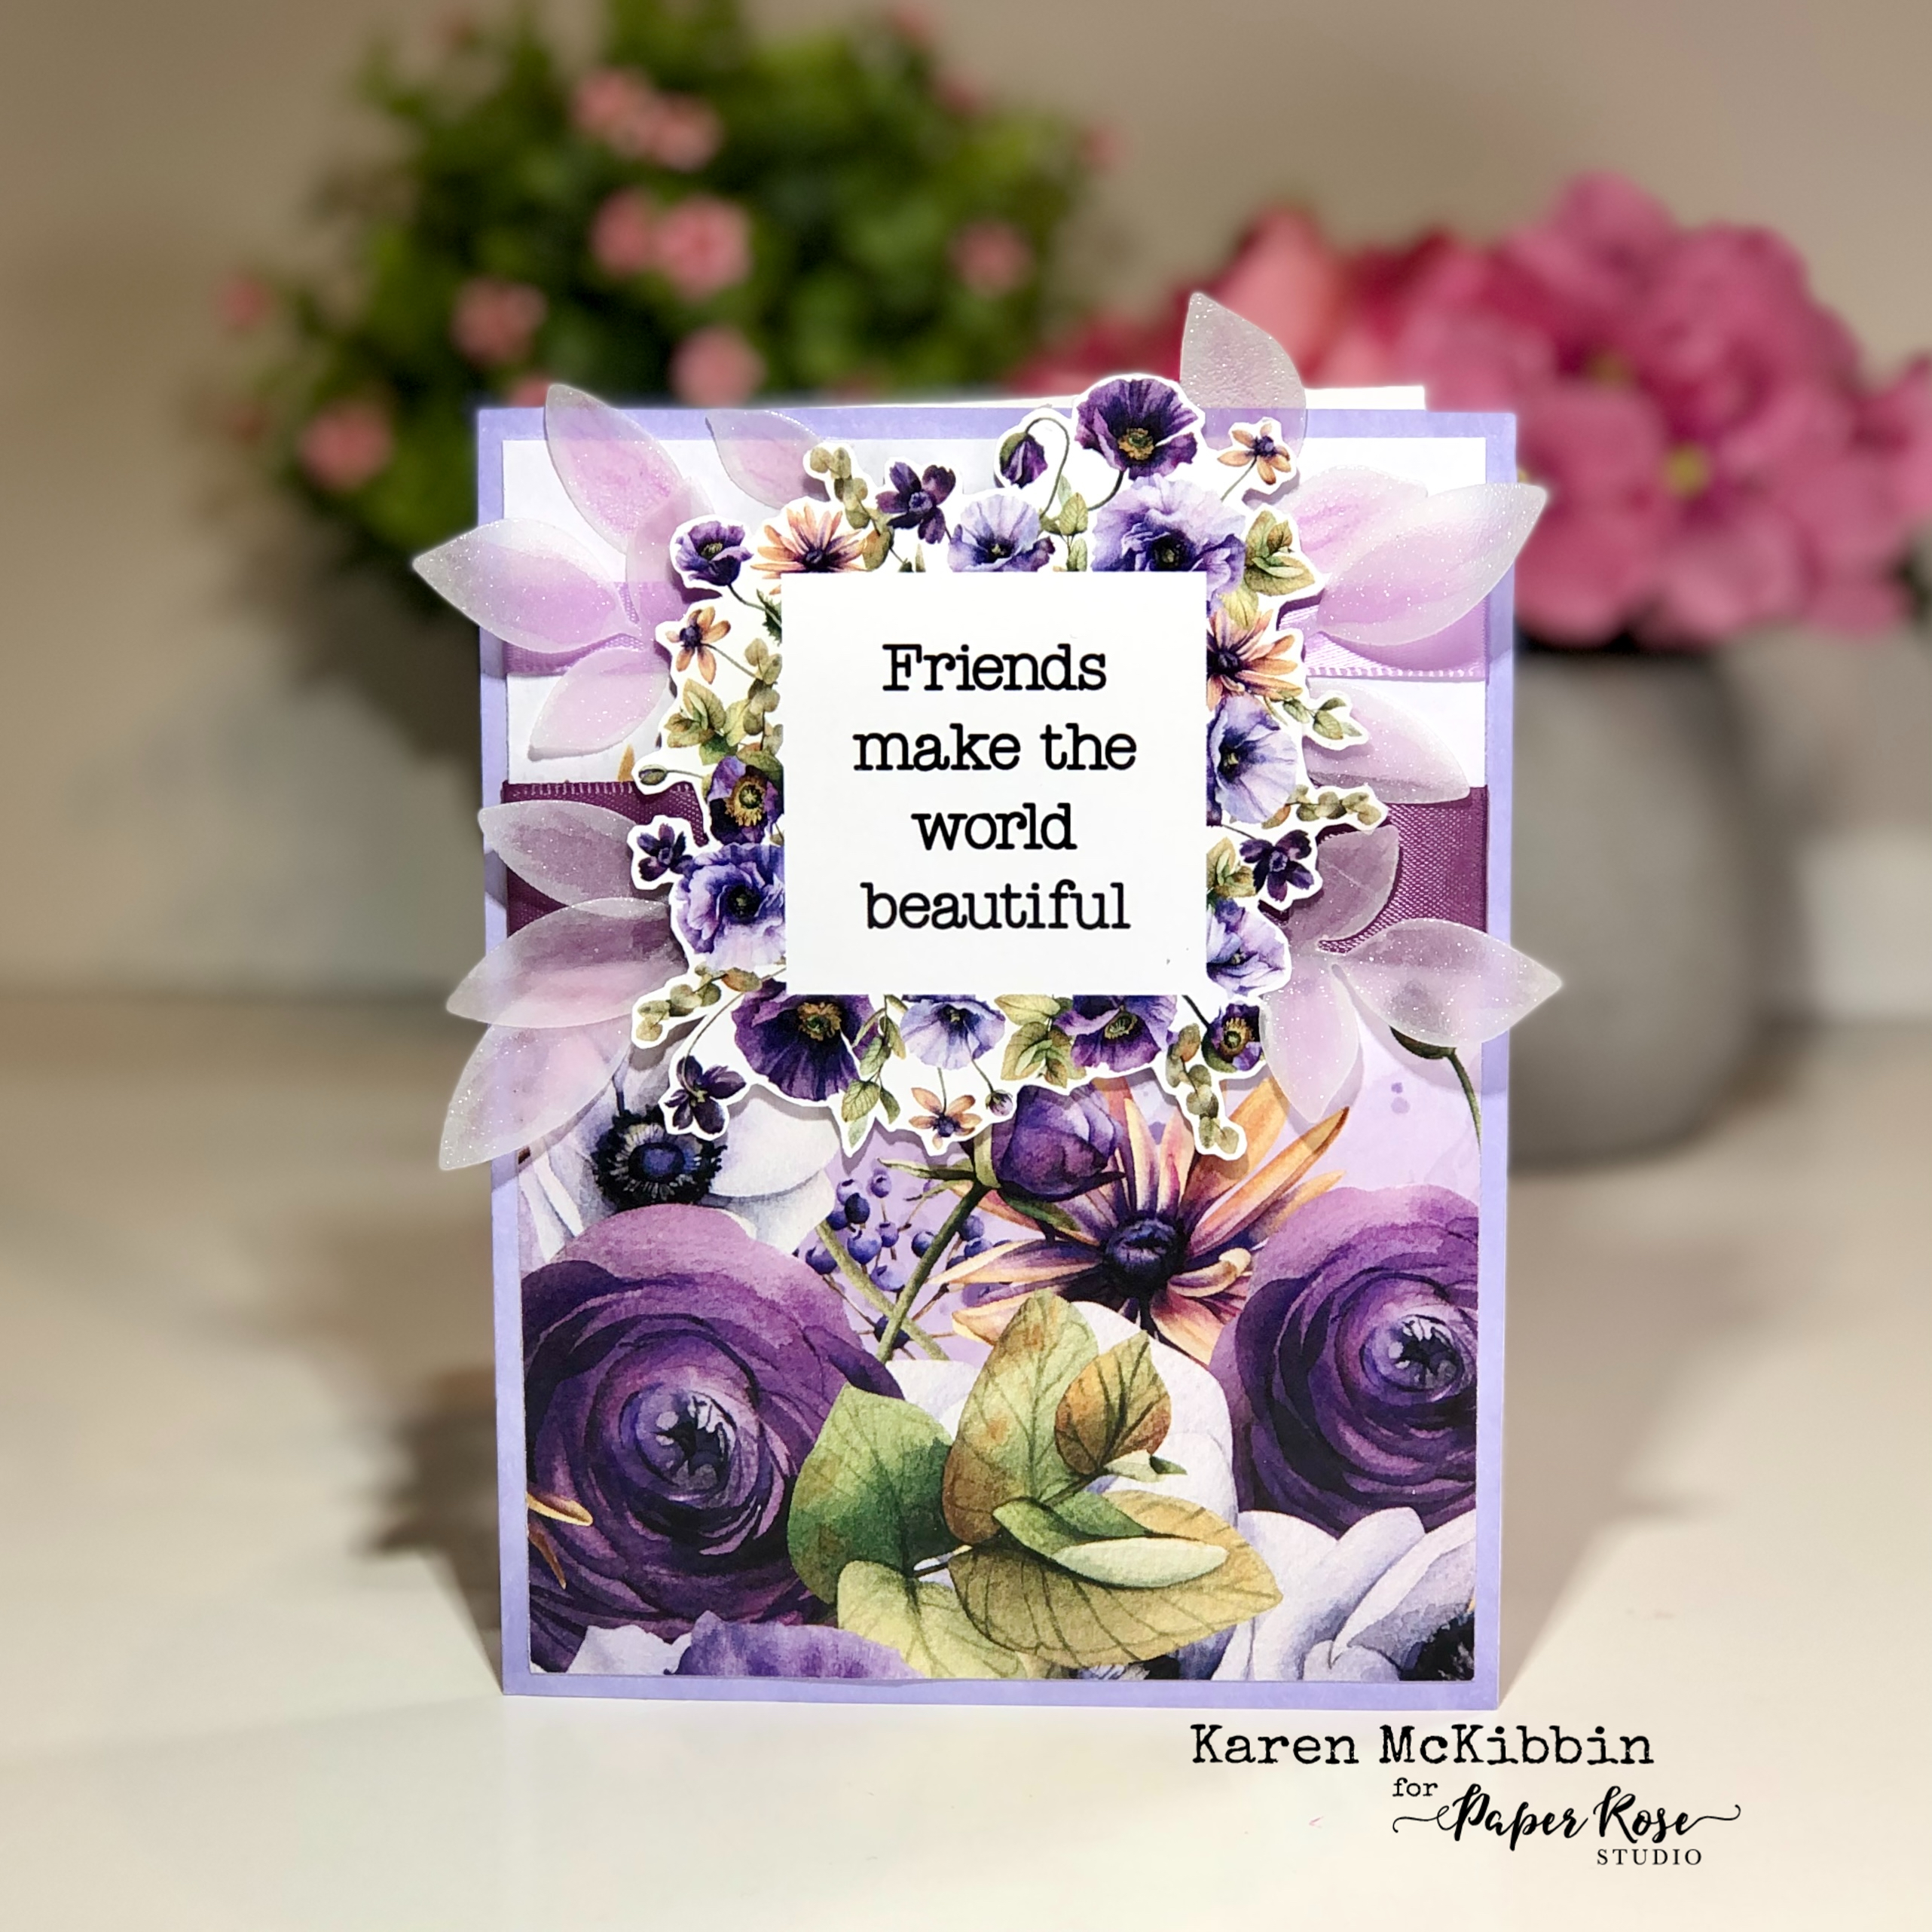
Hello everyone, I've got five cards to share with you today and a fun, new card fold.  Paper Rose Studio have just recently released the "Dear Isabella" papers, and I just fell in love with them.  They are gorgeous! And no colouring is required! 😄 The first three cards are quick and easy to do, and the last two use the fun fold technique I show in the video.  Here's a look at the cards, starting with the three easiest.

Paper Rose Studio Supplies: Dear Isabella 12x12 Paper Collection 29802, Doodle Flower Coverplate 20553, Greenery 1 Metal Die 25966 


Paper Rose Studio Supplies:  Dear Isabella 12x12 Paper Collection 29802, Doodle Flower Coverplate 20553.  Also, Ranger Frosted Crystal Embossing Powder

Paper Rose Studio Supplies: Dear Isabella 12x12 Paper Collection 29802,  Flourish Circle Metal Die 26917, Black & White Sentiment Sheet 19023.  Also, Ranger Frosted Crystal Embossing Powder.

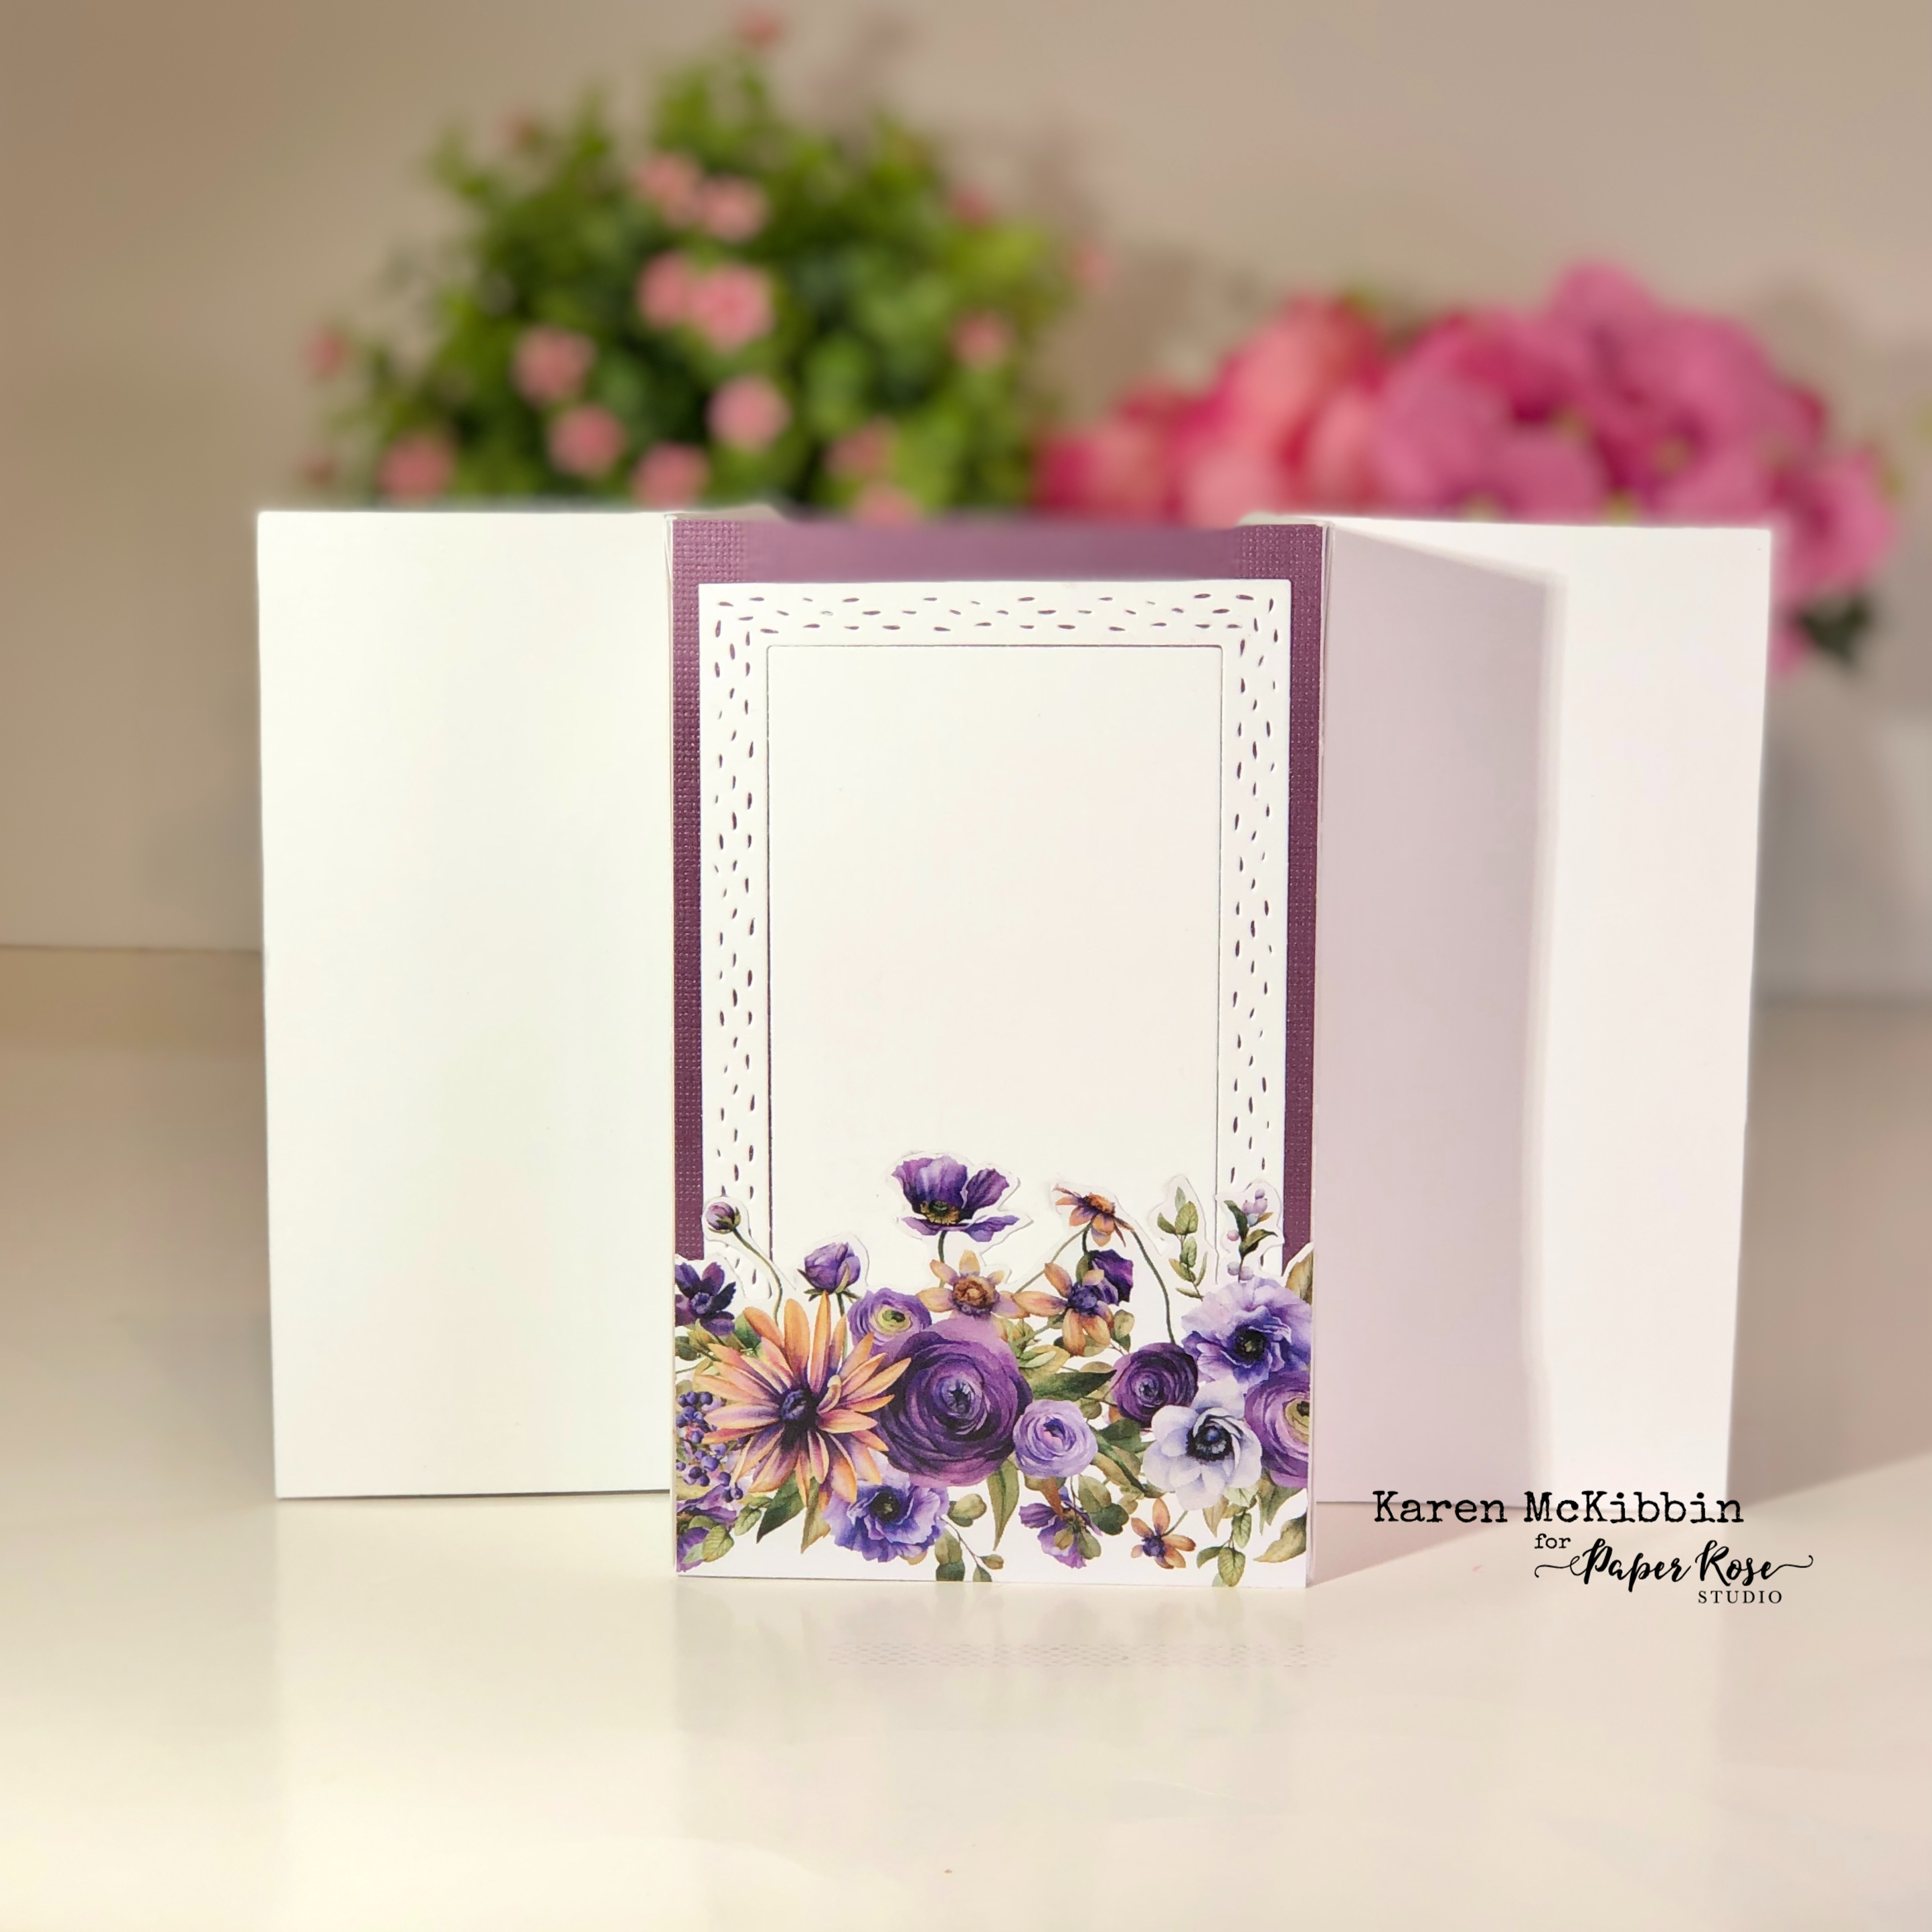
Isn't that paper beautiful?!  Here are the next two cards that use the fun fold technique, and I promise you it's not a difficult card to make.

Card closed with a belly band

Open card showing the inside box

Back of the card with space to write a message.


And here's the fifth card ...


If you would like to know how I made these cards, please come join me as I have made a video to share the making of these cards.  To see the video, PLEASE CLICK HERE.  

Thank you so much for joining me and I hope you like the video.